Jacinta visited here several years ago with her friend Mary when they had a picnic in the back garden. We did the same, after asking the family who own the building. You see, the pub wasn’t open yet, but then Tom had a wedding the previous night and finished work at 4am. Shortly after we made ourselves comfortable outside and had poured our tea he showed up and smiled when he saw our picnic.
After our picnic we got chatting to Paul and Cath, who are over from Cornwall for a week. Over a pint we soon got lost in the easy going atmosphere of the pub and before we knew it time had caught up with us and we had to make the journey home.
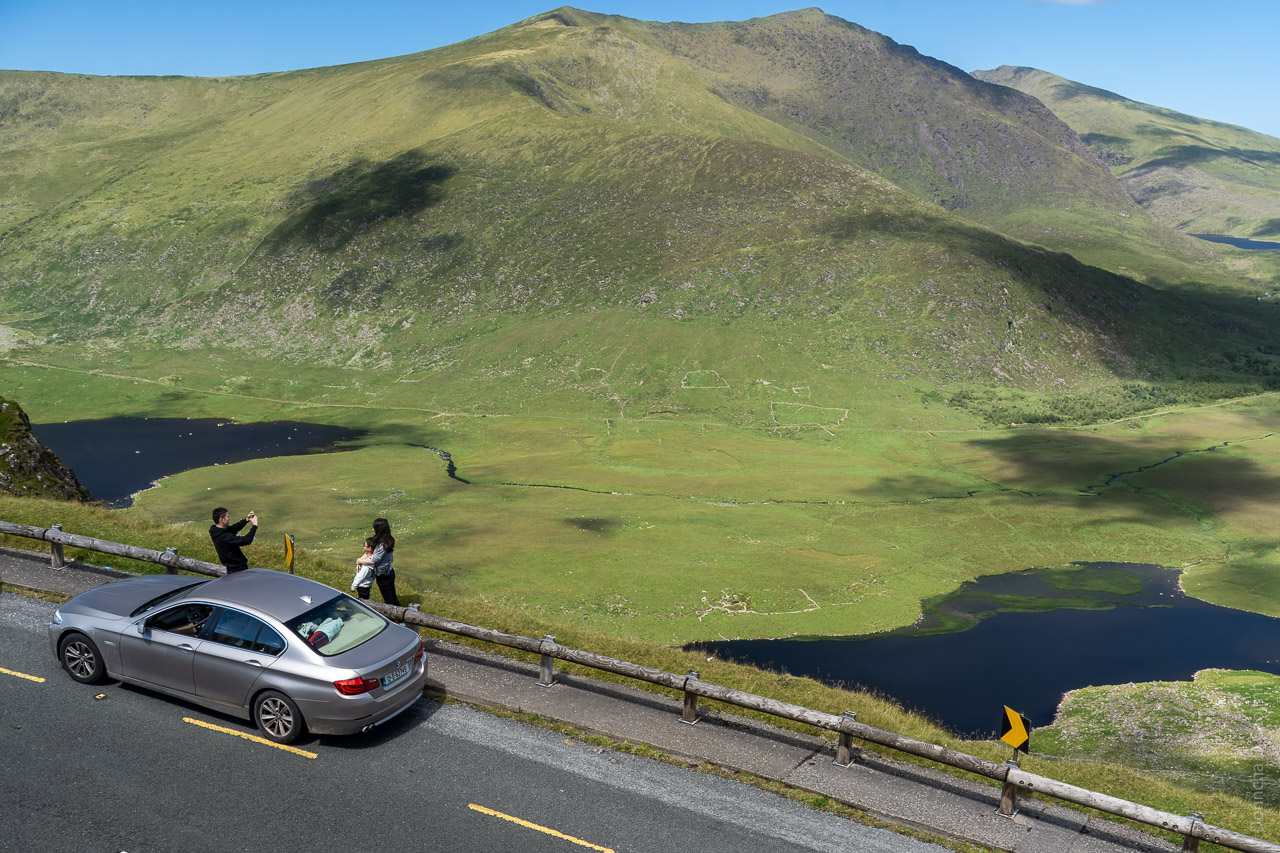
Despite Pete McCarthy’s assertion that driving down a road with grass in the middle means you’re going the wrong way, you should try the “alternative route” to Ahakista. When you leave Bantry take the first turn right to Sheepshead and you’ll see it sign posted a few miles down the road. Go slowly, because others use the road, but the scenery is amazing. If it wasn’t for the fact that we were late leaving home, I would have stopped several times to shoot landscapes.
I can’t remember the last time I was in this part of the world, but the beautiful scenery and laid back way of life means I’ll be back!
| Aperture |
ƒ/4 |
| Camera |
Canon EOS 20D |
| Focal length |
10mm |
| ISO |
1600 |
| Shutter speed |
1/15s |