Export photos with a border from Lightroom Classic

This is how I add a nice thick black border to my photos after I export them from Lightroom Classic using free software.

This is for macOS, but since the same software exists on Windows, you can do something similar there, but I haven’t used that platform in years, so YMMV.

I’m going to presume you’re familiar with export presets in Lightroom Classic. You’re going to use one of them to run a small script that does the magick.

Take a deep breath. You’re going to learn a lot in the next couple of steps. Persist, and it will be worth it.

Installing ImageMagick

To add the border you need to install ImageMagick using brew. Think of ImageMagick as a Swiss Army knife for images. While Lightroom excels at organizing and editing individual photos, ImageMagick can automatically resize hundreds of images, create contact sheets, add watermarks, or convert file formats. You can do all this without you having to click through each image individually.

Step 1: Open Terminal (It’s Not as Scary as It Sounds!)

Terminal is like a text-based way to talk to your Mac. Instead of clicking buttons, you type commands. Here’s how to find it:

  1. Press Command + Space to open Spotlight search
  2. Type “Terminal” and press Enter
  3. A black window will open. This is Terminal

Don’t panic if it looks intimidating! Think of it like switching from Auto mode to Manual on your camera. It gives you more control once you know what you’re doing.

Step 2: Install Homebrew (Your New Best Friend)

Homebrew is like an App Store for command-line tools. It makes installing software like ImageMagick incredibly easy. Here’s how to install it:

  1. Copy this entire command (click and drag to select it all):
    /bin/bash -c "$(curl -fsSL https://raw.githubusercontent.com/Homebrew/install/HEAD/install.sh)"
  2. Paste it into Terminal (Command + V) and press Enter.
  3. You’ll be prompted to enter your Mac’s password (the same one you use to log in). Note: When you type your password, you won’t see any characters appear. This is normal for security reasons. Just type it and press Enter.
  4. The installation will take a few minutes. You’ll see lots of text scrolling by, and this is normal! Grab a coffee and let it do its thing.
  5. When it’s finished, you might see instructions about adding Homebrew to your PATH. If you see a message starting with “Run these two commands in your terminal,” copy and paste those commands one at a time.

Step 3: Install ImageMagick

Now that you have Homebrew installed, installing ImageMagick is incredibly simple:

  1. Type this command in Terminal:
    brew install imagemagick
  2. Press Enter and wait.
  3. This will download and install ImageMagick automatically. When it’s done, you’ll see your command prompt again (it looks like YourName@YourMac ~ % or similar).

Step 4: Test Your Installation

Let’s make sure everything worked:

  1. Type this command:
    magick -version
  2. If you see version information appear (something like “Version: ImageMagick 7.1.x”), congratulations! You’ve successfully installed ImageMagick.

Apart from adding borders to images, ImageMagick can also resize images, convert RAW files to Jpeg, add watermarks and more.

Your first ImageMagick script

Open TextEdit or your favourite text editor to create your black borders script. If you use TextEdit, you need to adjust the settings as follows.

Go to TextEdit → Preferences and under “New Document”

  1. Select “Plain text”.
  2. Uncheck “Smart quotes” and “Smart dashes”.

Copy this code into your editor before saving it in your Documents folder as add_black_borders.sh

#!/bin/bash

# Add black borders to export images

today=$(date +%F)

open ~/Pictures/
/opt/homebrew/bin/magick mogrify -bordercolor black -border 15 "$@"

Your computer can’t run the script without making it executable, so use this command to do that:

chmod +x ~/Documents/add_black_borders.sh

Add it to Lightroom Classic

Lightroom Classic has an “after export” setting in the export dialog you can use to modify the photo(s) you just exported. You’re going to write a small computer programme called a “shell script” that uses ImageMagick to add the border.

Right click on an image, go to Export and click on Export..... Select your export preset and scroll to the bottom, to “Post-Processing. It will look something like this. Click on the “After Export” setting and then on “Go to Export Actions Folder Now”.

A new Finder window will open there. It should be Library/Application Support/Adobe/Lightroom/Export Actions/ in your home directory.

Copy the script from your Documents folder to the Export Actions folder by dragging it from one folder to the other.

Export with Borders

Go to your desired export action in the Export... menu in Lightroom Classic. Scroll to the end, and the After Export setting will have your add_black_borders script.

Select that, and remember to update the settings for your export preset.

Export an image, and it should have a black border. The Pictures folder will pop up too, but you can change that in the script in the line that says open ~/Pictures/. Change that to wherever you put your exported images.

Customize the output

You can change the border width and colour in the script. Look at the magick line.

  1. It’s 15 pixels by default.
  2. -bordercolor black can be changed to whatever colour you want from this list.

Search online, and you’ll find other commands to further change how the border looks.

Bonus: split panoramas

Here’s a bonus script. Save it as panorama.sh in the Export Actions folder. Add it to an export action you use for horizontal panoramas. Vertical panoramas can be split using 100%x33.33% instead.

#!/bin/bash

open ~/Pictures/
for file in "$@"; do
        base=$(basename "$file" .jpg)
        out=$(dirname "$file")
        /opt/homebrew/bin/magick "$file"  -crop 33.33%x100% "${out}/${base}_split_%d.jpg"
done

Gobbledygook?

I hope that made some sense, and it works for you. It is unfortunately technical, but take things slowly and carefully, and you’ll have beautiful borders on your exported photos!


Apertureƒ/8
CameraILCE-7RM5
Focal length172mm
ISO100
Shutter speed5s

This video will be panned

Alan Schaller barely needs an intro if you’re into street photography, but this video? Let’s just say it’s absolutely panning out to be a classic. The pan puns are flying faster than a photographer chasing a pigeon with a slow shutter. Honestly, the comments section will be sizzling.

If you’re hungry for some motion in your shots (and maybe a side of wordplay), you’re in for a treat. Alan’s not just frying up tips on technique, he’s serving them with a dash of banter and a sprinkle of ND filter magic. So grab your camera, set your shutter to “sauté,” and get ready to whip up some shots that’ll have everyone flipping out. Don’t be surprised if you find yourself scrambling for more puns by the end. This one’s got all the right ingredients for a photo feast.

Tips from the video?

  • Plant yourself firmly on the ground.
  • Wrap your strap around your wrist.

(and then pan and curse and try again.)

Timing:

People Walking1/4 second
People Cycling1/30 second
Fast Car1/60 second

I’ve done panning in the past but it’s harder than it seems and I don’t do it enough. I don’t think there are many examples of it here (plenty of long exposure shots), but this post on the Tour of Ireland in 2008 has some nice panning!

Lightroom Classic doesn’t always adjust time correctly

I can confirm that this bug still exists. If you change the capture time of a photo in Lightroom Classic it may not do it correctly. The time was wrong on my camera and I had to change 249 images this evening. As I went through them later, I noticed a few were out of order, when sorting by “capture time”.

When the time is changed, there are three fields that need to be modified:

  • Date Time Original
  • Date Time Digitized
  • Date Time

Most of the time all three are changed, but sometimes, only the first one is.

Attempts to change the time failed again and again, so I changed the sort order to “Filename” which works just fine, but it’s annoying me that there are bunches of photos in today’s photos that have jumped through time.

Anyone figured out how to fix this?

Dodge and Burn using Lightroom Masks

It occurred to me while watching a video by Nick Page on Photoshop’s Luminosity masks that Lightroom Classic can now do something similar with luminance range masks. It’s not quite the same and won’t be as powerful, but it saves jumping to Photoshop and creating a 100MB tiff file.

You could always dodge and burn with the brush tool in Lightroom Classic, and by using a Brush Mask you can still do the same:

  1. Create a brush mask.
  2. Brush where you want to dodge or burn.
  3. Adjust exposure.
  4. Repeat for different exposures.

By using a luminance range mask in Lightroom Classic I could select the shades of dark or bright that I want to apply the effect to. By subtracting with a brush, I could modify the shape of the dodge/burn mask to my taste.

Sure enough, someone had done what I wanted already and had made a video of it. For a global dodge/burn, a change of .50 exposure can be a little too much, but that depends on your image.

For extra points, make an inverted sky mask and intersect with a luminance range mask to apply the dodge/burn there only, leaving your sky untouched.

And finally, make a preset of it! Click on the “+” next to Presets while editing and then “Create Preset…”. Uncheck everything and name your preset. Click on your dodge/burn masks in Masking, and click on “Support Amount Slider” in case you’ve modified that and save your new preset. New masks will be created when you apply the preset to another image. You can modify the intensity of the change to suit the new image.

If you’ve added an inverted sky mask, your preset will find the sky in any photo you apply the preset to everything but that part of the image.

The new masking tools in Lightroom Classic are very powerful. They’re really worth learning!

HDR in ON1 Photo RAW 2021 vs Lightroom

I got an email from On1 again this morning offering a free trial of the latest version of their raw processor. Since I just paid for another year of Adobe Lightroom I’m not going to switch but every year ON1 Photo RAW gets better and better.

I took loads of bracketed photos at Blarney Castle yesterday so I decided to test out the HDR feature in Lightroom and On1 Photo RAW 2021. Last year I was not impressed when I tested this but the end result this time was very pleasing. ON1 created a slightly brighter, paler image with less contrast than Lightroom which I prefer. If you’re a Lightroom user you should definitely try the free trial of ON1 Photo RAW!

HDR generated by ON1 Photo RAW

Lightroom
HDR Generated by Lightroom

I upload my photos to Google Photos too. It generates HDR images from uploaded files. The HDR images tend to be too colourful and look like the HDR images created when HDR was a new thing and people were a little too enthusiastic about it. Here’s what Google Photos made of the same set of images.

HDR Generated by Google Photos

In this totally unscientific and simple test I like the HDR created by ON1 Photo RAW the best!

Aperture ƒ/8
Camera ILCE-7M3
Focal length 16mm
ISO 100
Shutter speed 1/60s

Careful Importing Video from Sony Cameras

I made one of the big mistakes of photography last night. I formatted my SD card before checking that everything had been imported correctly. I’m still not 100% sure how this happened but none of the videos I recorded were imported.

Most of the time I don’t bother formatting the card immediately because there’s plenty of space on it, and I might just want a second backup before the files are copied to external storage but this time I did. I’m still kicking myself for doing that.

My Sony A7 III (unhelpfully) gives the name “Untitled” to the SD card and if Lightroom doesn’t detect the card I’ll click on the device name at the top of the import menu but this morning I noticed that DCIM and PRIVATE were expanded. Had I clicked on DCIM previously when importing? I don’t think so but it’s looking likely.

When the Sony A7III records video it’s to the PRIVATE/M4ROOT directory.

When I noticed my error I tried to restore the files using Recuva but it was no use. It didn’t find the videos. It’s an awful sinking feeling when you realise something like this has happened. 🙁

Sony a7iii: compressed raw or not?

When I first used my Sony a7iii I wondered what the difference was between compressed and uncompressed raw. Some forum threads and blog posts suggested there was a difference, especially in dynamic range IIRC, and some people shot everything in uncompressed raw. Those files are gigantic* 47MB files however. Compressed files are always 24MB, a much more manageable size, especially when reading from an external drive.

Nowadays I shoot everything in compressed raw and even go so far as to convert many of my street photos into lossy DNG because there isn’t a huge dynamic range to be dealt with.

However, following Mike Smith’s advice in this video I’ll try uncompressed raw for astrophotography just so I can push the files that bit more in Lightroom.

I have noticed some other differences between any Sony .arw file and .dng conversions. The upright corrections work slightly differently. Clicking auto will create different looking images.

* if you’re reading this in 2030 when 200MB raw files are common please remember that large and fast drives are fairly cheap now but weren’t as cheap in 2019 as they are in your time!

Aperture ƒ/8
Camera ILCE-7M3
Focal length 31mm
ISO 1250
Shutter speed 1/500s

It’s clear outside!

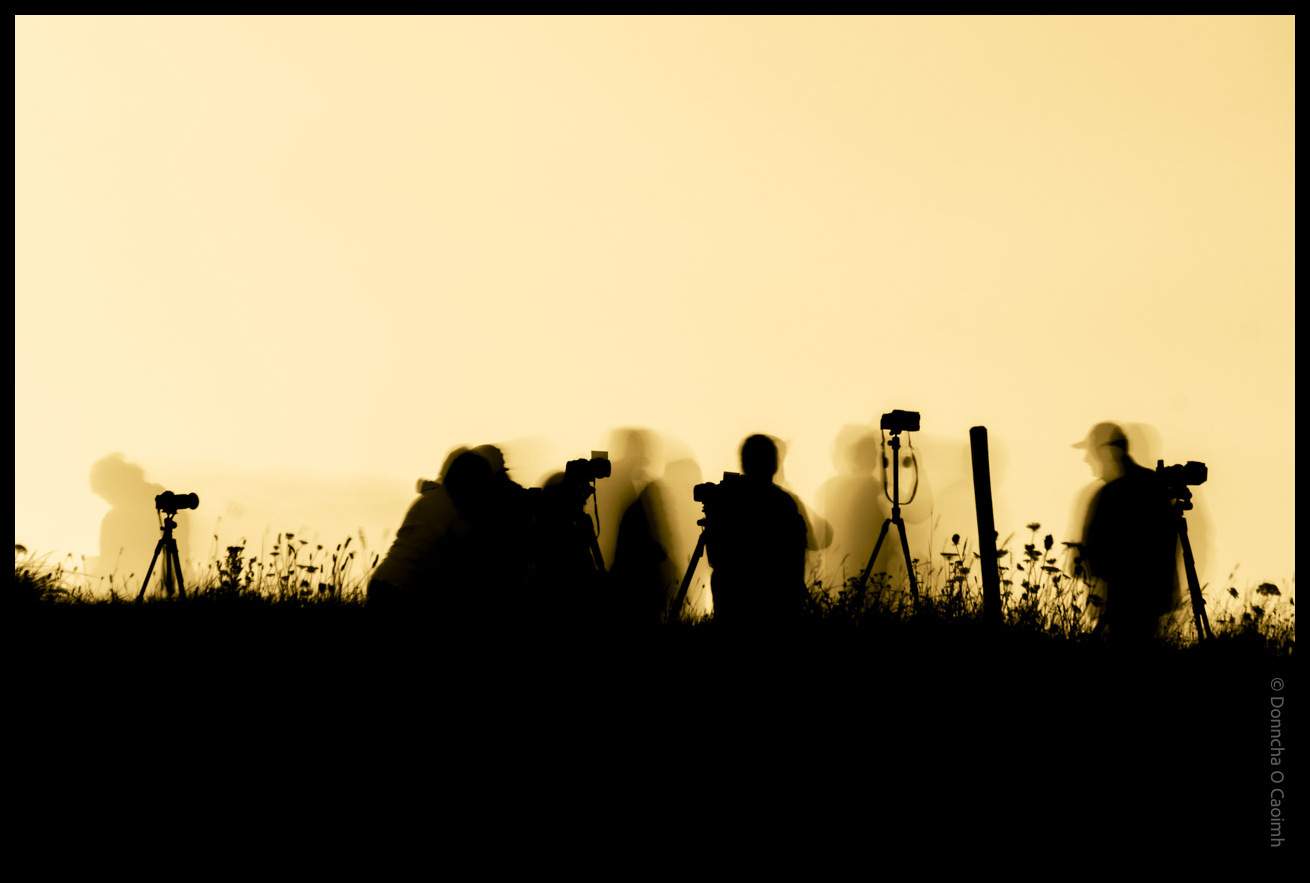
Clear Outside is a handy Android app that will display weather information about the current location or a location of your choice.

It’s really useful for astrophotography, landscape or sunset/sunrise photography as it will display the cloud cover too. The first time I used the app was on a sunset shoot with Blarney Photography Club at Garrettstown Beach where a member of the club told us about it.

2016-08-25-m

We were hoping to shoot the Milky Way later that evening but the sky was mostly covered by thick cloud. The app said that cloud would disappear by 10:30pm so after the sun set we went off to a local pub for some refreshments. I’m glad we stayed around. Later in the evening I looked out the back door and saw stars twinkling and we drove back down to the beach where we were presented with a beautiful Milky Way and a really dark sky!

2016-08-25-8405-m

Other useful Android apps to have with you are:

  • Golden Hour will help you plan your sunset or sunrise expeditions. Also check out Golden Hour Calculator,
  • The Photographer’s Ephemeris are both apps that will show you sunrise and sunset times. I only have the former as I used Amazon credits to buy it but from using TPE for desktop I can see both have similar functionality. Give both a go, you can always get a refund within the Play Store time limit.
  • Phototools is a useful app that I’ve used in the past to calculate the DOF (depth of field) of various lens settings but it also does more, including calculating ND filter times and sunset/sunrise times.

And further reading on astrophotography:

  • My friend Marcus has written a great intro to night photography you should read.
  • Avoid star trails using the 500 rule.
  • This article suggested stacking consecutive photos which I haven’t tried yet.
  • This is a comprehensive article on night photography. I like his suggestion on focusing. Stars are at “infinite” distance so you’d think that setting the focus at the infinity symbol would get crystal clear images but I find I have to move the focus back a little. I never thought to shoot at infinity during daytime and check where the focus marker was so I could replicate it at night.
  • I have a “nifty 50”. It’s the Canon 50mm f/1.8 which takes lovely sharp photos but 50mm isn’t quite wide enough for Milky Way photography. It never occurred to me that shooting a panorama using overlapping photos would produce such nice photos. The same site has a useful Milky Way exposure calculator, and an astrophotography 101 guide.
  • Nightscapes is a huge repository of information about night photography. I processed the Milky Way photo above with these tips in mind.
  • You could try exposing to the right (over exposing) but I’m not convinced that will help too much.
  • If you don’t have any lens filters then consider using bracketed photos to create a HDR sunset. The sunset photo above was created this way and while I think it’s a little too sharp and not perfect I still like it. I used the free Nik software to do this.

Phew. It’s raining outside, there’s been nothing but cloud for the last few days but I’ll be keeping an eye on my apps to see when it’s clear outside and I can shoot more stars!

Aperture ƒ/8
Camera Canon EOS 6D
Focal length 28mm
ISO 50

RIP Bill Cunningham

Fashion, and street, photographer Bill Cunningham died on Saturday at the age of 87. I didn’t know anything about him until this announcement on Reddit and I saw people on social media sites talking about him, and the documentary on his life and work for the New York Times.
I wish his work had more of a presence online, but I guess it was almost entirely in print. You can however, follow his Facebook page, or look at On the Street videos where you’ll find his work.

The documentary is on Netflix, but can also by found on Youtube and is well worth watching.

Here’s a much shorter video with some of the same footage:

(Featured image by Jiyang ChenOwn work, CC BY-SA 3.0, via Wikipedia)

(Gallery images downloaded from this Livejournal article)

Samsung Motion Photos for Street Photography

The Galaxy S7/Edge can take photos with a few seconds of video before the photo. iOS and Windows Phone devices can do the same, as I’m sure many other phones can. I was curious about how well it would work on the street, as it might be useful to show how a shot came about. Surprisingly, it worked well! I could even take two photos in quick succession, and the phone would record overlapping video for each. I didn’t notice any lag.

The phone records the motion photo as a regular jpg file. It’s much bigger though, as there’s a mp4 video files appended to the Jpeg image. You can find some technical info about the file format here.

Yes you can manually do this is 10 seconds with a hex editor by opening your original Photo and searching for MotionPhoto_Data then select everything above MotionPhoto_Data and copy and paste it as a new file and save as a JPG. Do the same for the MPG BUT this time select every thing BELOW MotionPhoto_Data make sure for either one you are doing not to copy the MotionPhoto_Data text. Also the hex for the MotionPhoto_Data is 4D 6F 74 69 6F 6E 50 68 6F 74 6F 5F 44 61 74 61.

Technically the JPG ends at ÿÙ or FF D9 so the ÿÙ SHOULD be included too.
Technically You really want to delete all this “……..Image_UTC_Data1458170015363SEFHe……… ..#…#…….SEFT..0…..MotionPhoto_Data”
But if you leave all this “……..Image_UTC_Data1458170015363SEFHe……… ..#…#…….SEFT..0…..MotionPhoto_Data” in the end of the JPG you can easily merge them back together and have the display and play on your phone

I was going to create a shell script to extract the image and video files but I found this Ruby script that does the same. Saved me searching binary files and splitting them. 🙂

For this first test of motion photos I just used the phone to extract the images. Here’s what I did:

  • Load up Samsung Gallery, and select all the motion photos. Then tap the share button, and a popup appears asking to pick picture or video. I picked video, so it worked away for a few seconds, up popped the list of sharing applications and I hit back. The videos were now in my Camera folder next to the Jpeg files.
  • Copy files to computer, but rename videos (add “-1” or something to the end). Lightroom stacks jpg/mp4 files and it’s not possible to edit Jpeg files when they’re stacked like this.
  • Backup Jpeg files, run them through an optimizer to remove embedded videos. ImageOptim will half the file size.

  • Import into Lightroom.
  • Edit Jpeg files, upload mp4 files and have fun!

Note:
Sometimes ImageOptim messes up and Lightroom shows the image as a sort of double-image with interlaced lines like this:

Screen Shot 2016-06-08 at 21.34.25

If you don’t have any backups, I found I could fix the problem by loading the image in GIMP and saving it again. Then I’d have to update the EXIF data or overwrite it in Lightroom.

Using the Ruby script above is even easier. Point it at your import directory and it’ll extract any images and videos it finds, appending “_Extracted” to the filename. It’s probably worth renaming them in some deterministic way to avoid the stacking problem I talked about above. Since it extracts everything, you can delete the original jpg file. I should modify the Ruby script so it does the rename step..

I doubt I’ll use this feature much but I’m sure I’ll use it from time to time.

Aperture ƒ/1.7
Camera SM-G935F
Focal length 4.2mm
ISO 40
Shutter speed 1/730s

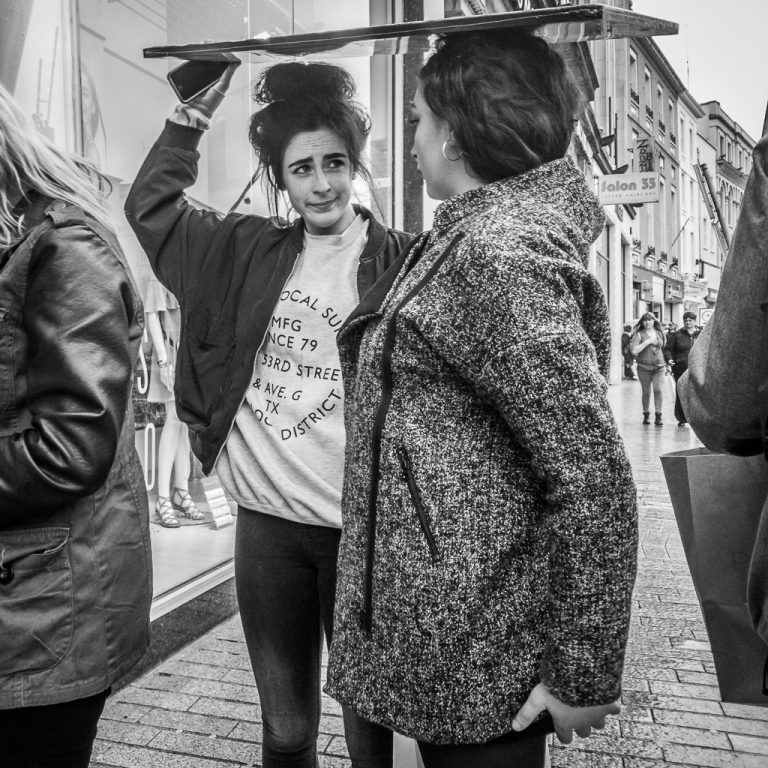
Street Photography with the Samsung Galaxy S7

The Samsung Galaxy S7 and S7 Edge have a 12MP camera, which is fairly mediocre as far as megapixel counting goes these days. The Galaxy S5 produced 16MP photos, and that device is two years old now! It’s not the megapixel count that matters of course but what kind of pixels they are and what software processes the data they create.

Apparently because the camera has fewer pixels, those pixels can be larger, and therefore collect more light, like buckets collecting water. The camera has image stabilisation built in too which helps keep photos sharp when your hand isn’t quite steady enough.
I shoot with the camera held at chest height in both hands and I used the volume buttons to take the photo without looking at the screen to compose. This worked fairly well, except when I accidentally obscured part of the lens with a finger. I need more practise.
I found I sometimes activated image review, probably by brushing against the screen with a finger. That was really annoying, especially when I thought I had captured the moment.

Photo by: Donncha O Caoimh (https://inphotos.org)

It also allows you to shoot RAW photos, capturing in DNG files that Lightroom or other RAW processor can read. You’ll have to enable PRO mode which disables other features like panorama, but it’s worth it. The advantage over Jpeg is that you get more leeway when conditions aren’t perfect for a photo. Say, you’re shooting a photo of someone against a bright sky. You’ll have a decent chance of recovering detail in the shadows.
I tried manually setting the exposure time, hoping the auto ISO would kick in when needed, but when exposure is set, auto ISO is disabled so I went back to auto-everything which worked very well anyway.
The Jpeg files the camera creates are very sharpened. You probably won’t need to apply much sharpening at all to them in development. This is something to keep in mind when switching between Jpeg and RAW.

Photo by: Donncha O Caoimh (https://inphotos.org)

The DNG files the S7 creates aren’t quite up to the standard you’ll get from a DSLR camera however. Jpeg files record 8 bits of data, a DSLR will commonly create RAW files containing 14 or 16 bit data. The Galaxy S7 outputs 10 bit data according to Lightroom. While that isn’t much different to Jpeg, it’s still enough to make a difference when working in taxing conditions. Laura Shoe has a good article explaining the differences between the different bit depths.

Photo by: Donncha O Caoimh (https://inphotos.org)

There’s something odd about those DNG files too. The files are generally 24-25MB in size, which is similar to the RAW files created by my 20MP DSLR. I thought that was strange enough that I decided to run Lightroom’s “Convert to DNG” on them. Without using lossy compression it converted those large files into much smaller 7-8MB files! Using a new DNG file I tested to see how well it would compress. A 24MB file was zipped down to 12MB. That means most of the file is empty space, not even random data which wouldn’t compress well. For comparison, a RAW file from my DSLR will compress from 20MB to just over 19MB.
It’s worth saving the space by converting the Samsung DNG files to Adobe DNG files.

Photo by: Donncha O Caoimh (https://inphotos.org)

There’s something odd about the metadata in the Samsung DNG files too. Mac OS X Finder won’t show previews of these files. When I looked at the metadata I saw the preview dimensions were set to 0x0. The converted DNG files were fine however.
The metadata problem extends to panoramic photos shot with the camera too. Here’s a lengthy thread on the matter. I fixed the problem by importing the photos into Apple Photos and then exporting the panoramic images. As a side bonus, the size of the file went from 44MB to around 17MB without discernible loss of quality.

Photo by: Donncha O Caoimh (https://inphotos.org)

The camera will record Jpeg and RAW images when in RAW mode, and it saves them to the internal memory, probably for performance reasons. I use the following chunk of code to delete those Jpeg files:

for i in *dng; do rm `basename $i .dng`.jpg; done

Snapseed and Lightroom mobile both allow you to edit DNG files. Snapseed will display a Develop interface where you can “develop” the raw file by adjusting much the same controls as “Tune image” has, but you can stretch them a little more. Here’s a Jpeg I edited in Snapseed.

Photo by: Donncha O Caoimh (https://inphotos.org)

I hate using a smart phone without a case. The S7/Edge is so slippery I’d be afraid to carry it outside without one. I opted for the Galaxy S7 Edge Case – Exact [TANK Series] case. I already have the S5 version and the S7 one is just as good.

I really liked shooting with the Galaxy S7, and I’ll use it again. It’s certainly a pleasure to use, even if there are some problems with the files it makes. A minor problem, given that it’s easy to fix them.

Edit: The S7 is fairly waterproof, able to operate while submerged. I’m not going to test that capability but a little rain doesn’t bother it at all!

Aperture ƒ/1.7
Camera SM-G935F
Focal length 4.2mm
ISO 40
Shutter speed 1/320s