
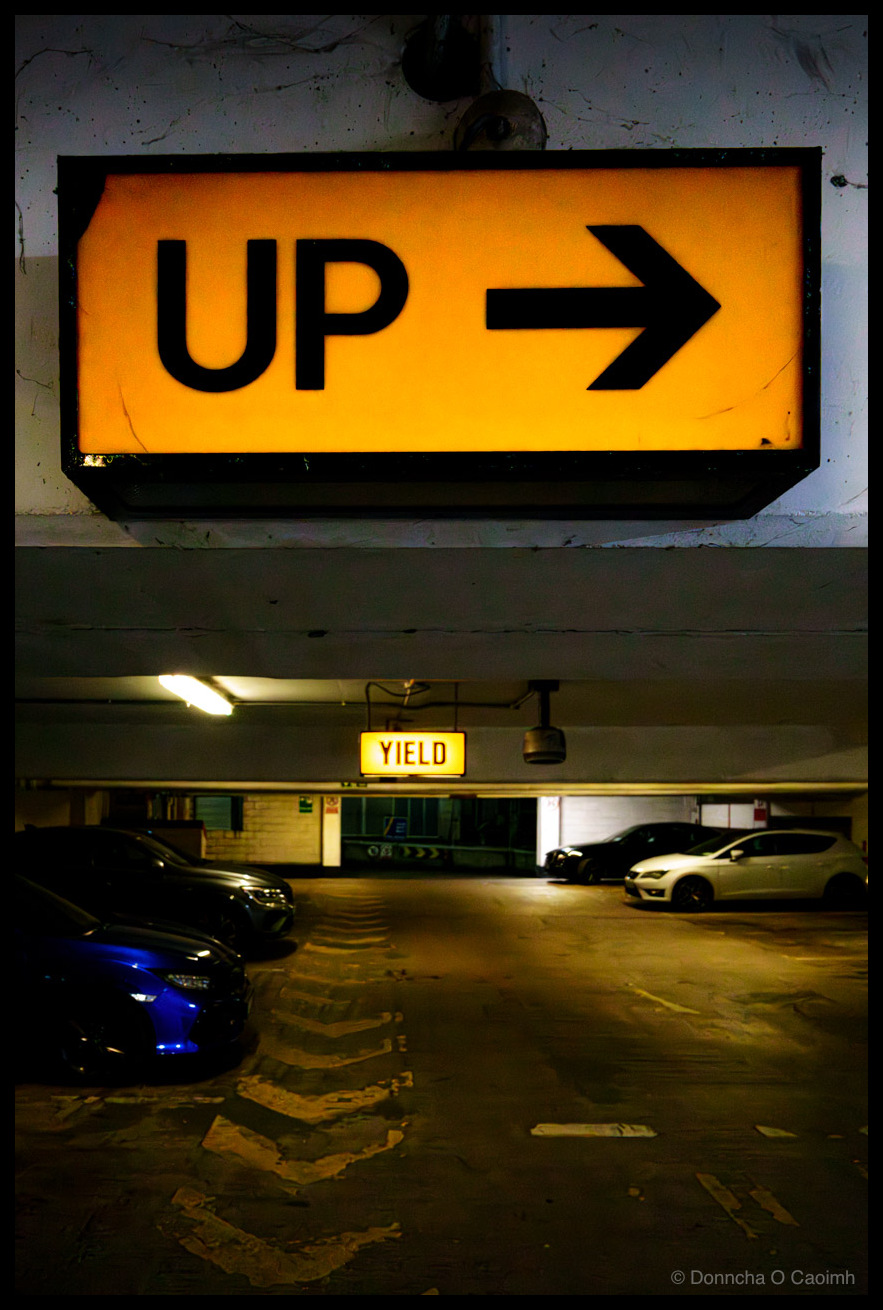


Up and Away
I like photographing multi-storey car parks. Usually there’s a good view from the top floor, and I’ll always find something interesting inside too.
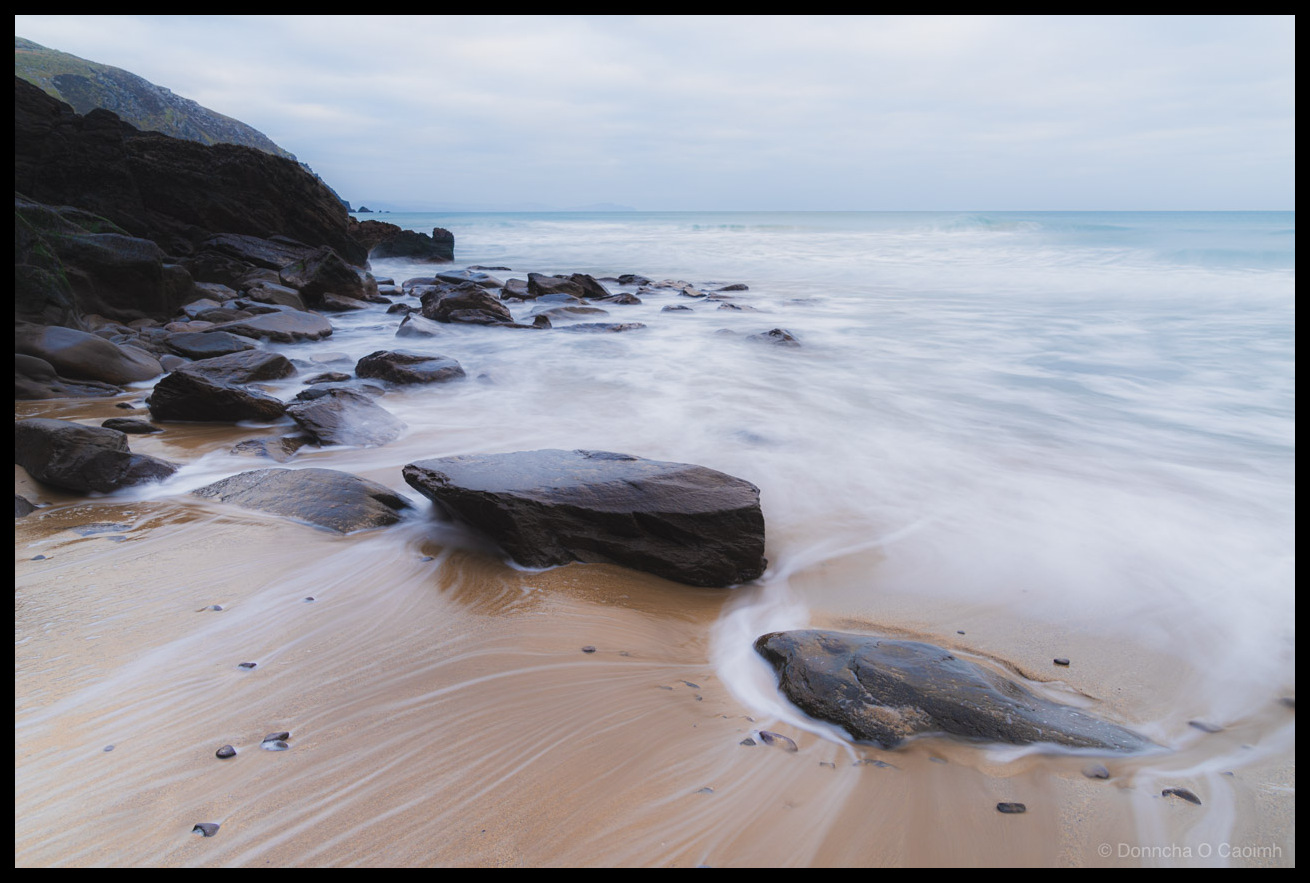
Long Exposure at Ireland’s Edge
The sea retreats in its forever battle with the sand. Clogher Strand in late December. The day was cold but we had fun.
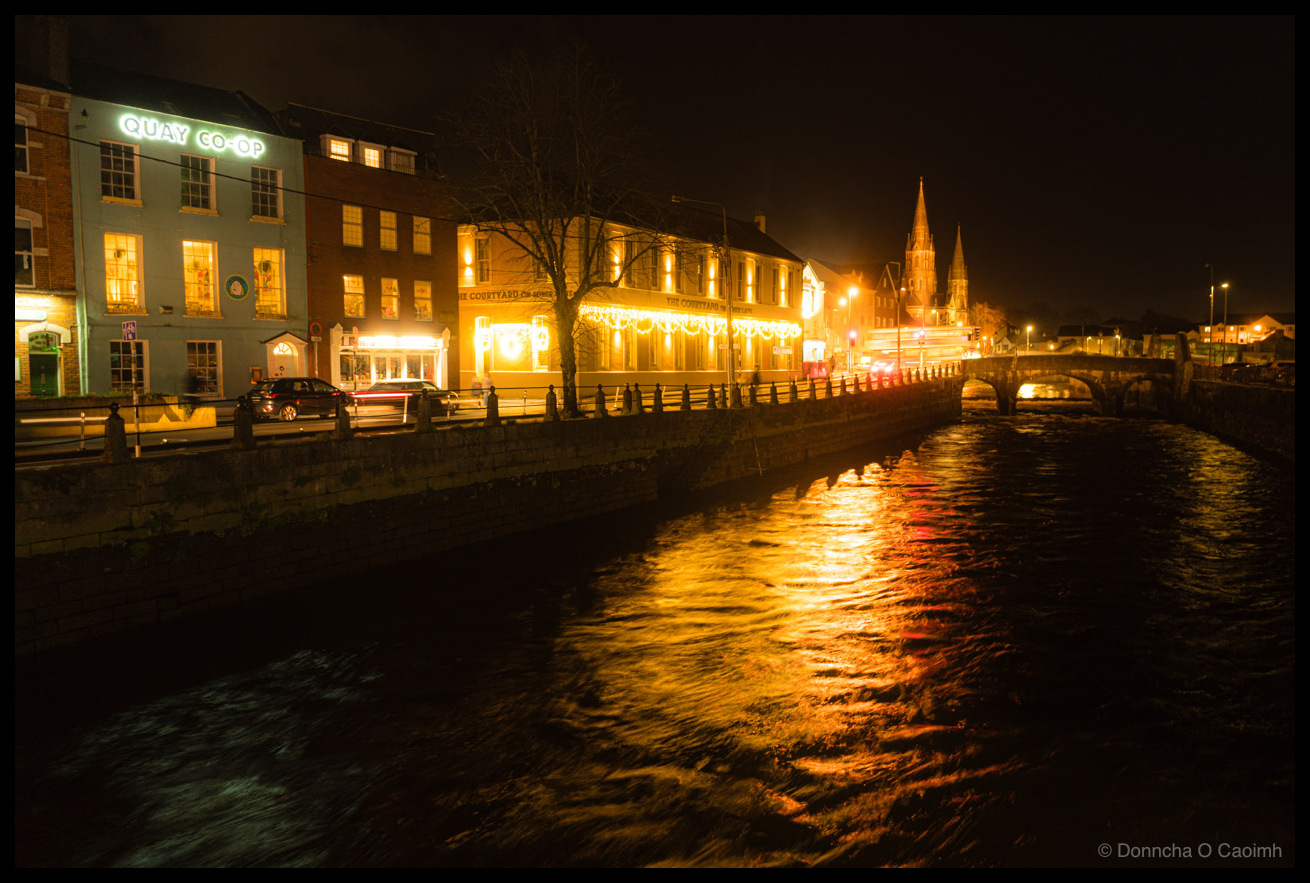
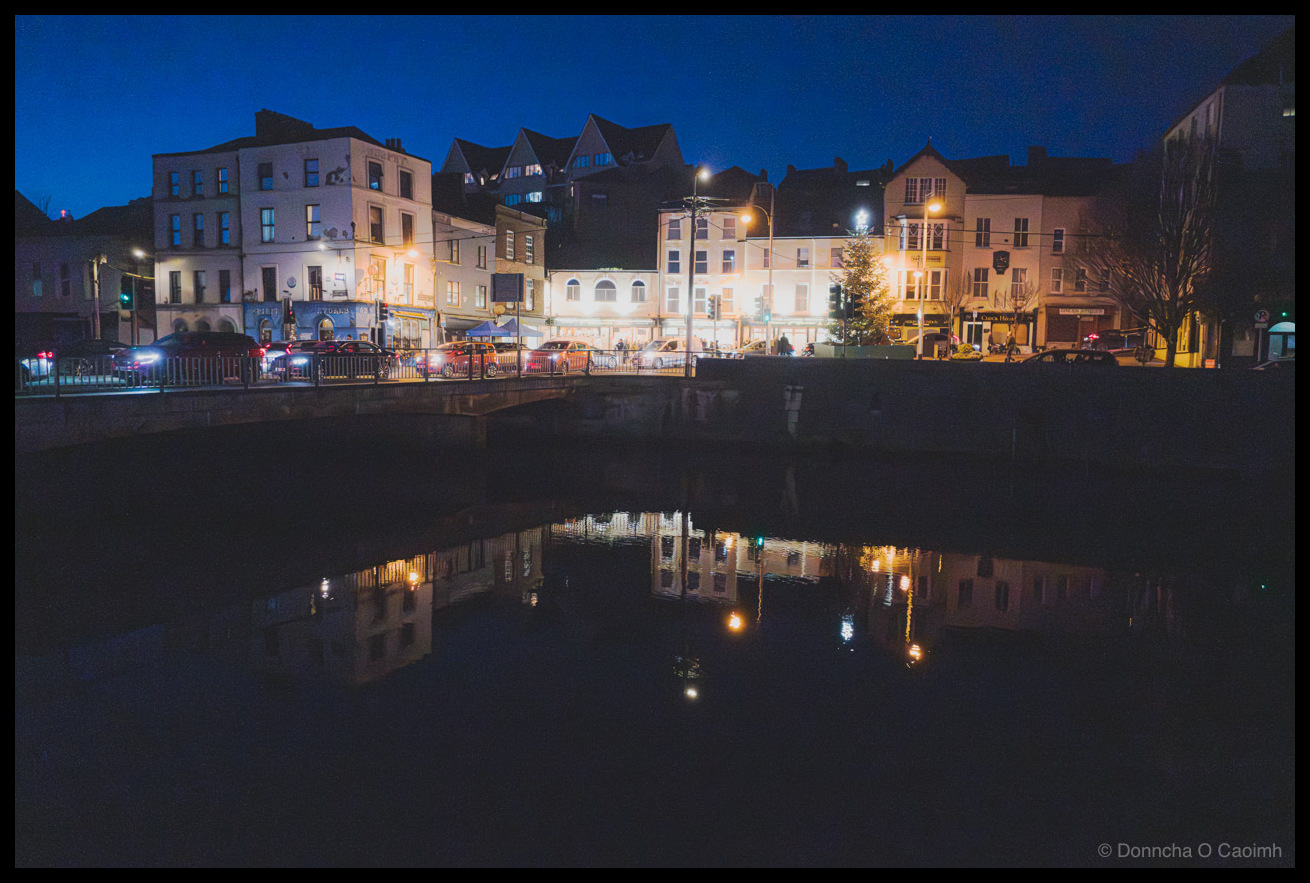
Sullivan’s Quay After Dark
I’ve photographed Sullivan’s Quay plenty of times but this was a little experiment shooting in highlight-priority mode. I brightened it up later but I like the way it came out and love the yellow reflected light on the River Lee. Here’s Sullivan’s Quay at sunset many years ago from much the same view point!
Where Time Slows Down
Water becomes mist at Couminole/Coumeenole Beach on the Dingle Peninsula in Co Kerry.
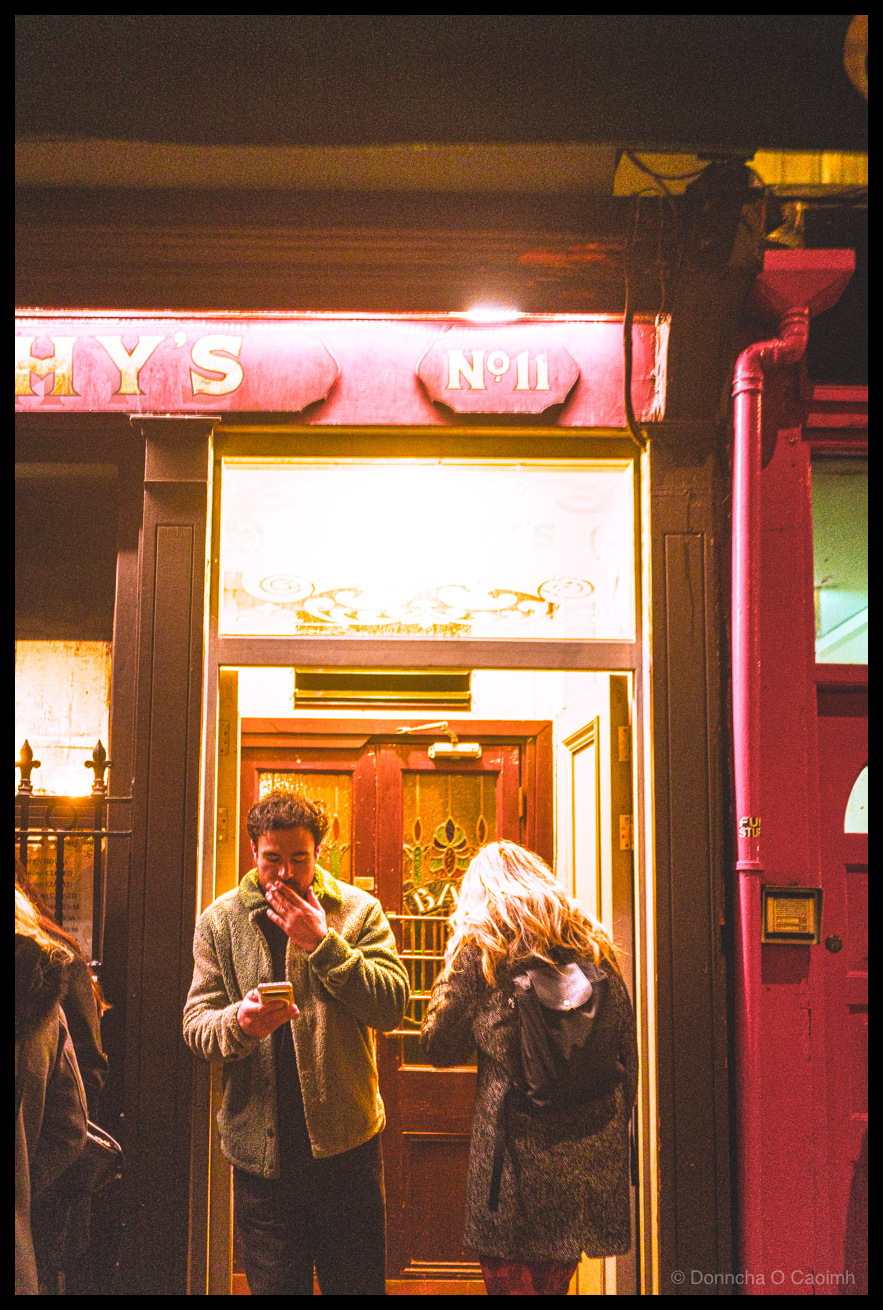
Golden Light and Late Night Texts
December was surprisingly mild, at times, and allowed people to stand outside pubs in relative comfort. Not like now. It’s so cold, but January is always like that.
When the River Lee Becomes a Mirror
The buildings at the end of Shandon Street reflect in the calm waters of the River Lee, Cork.
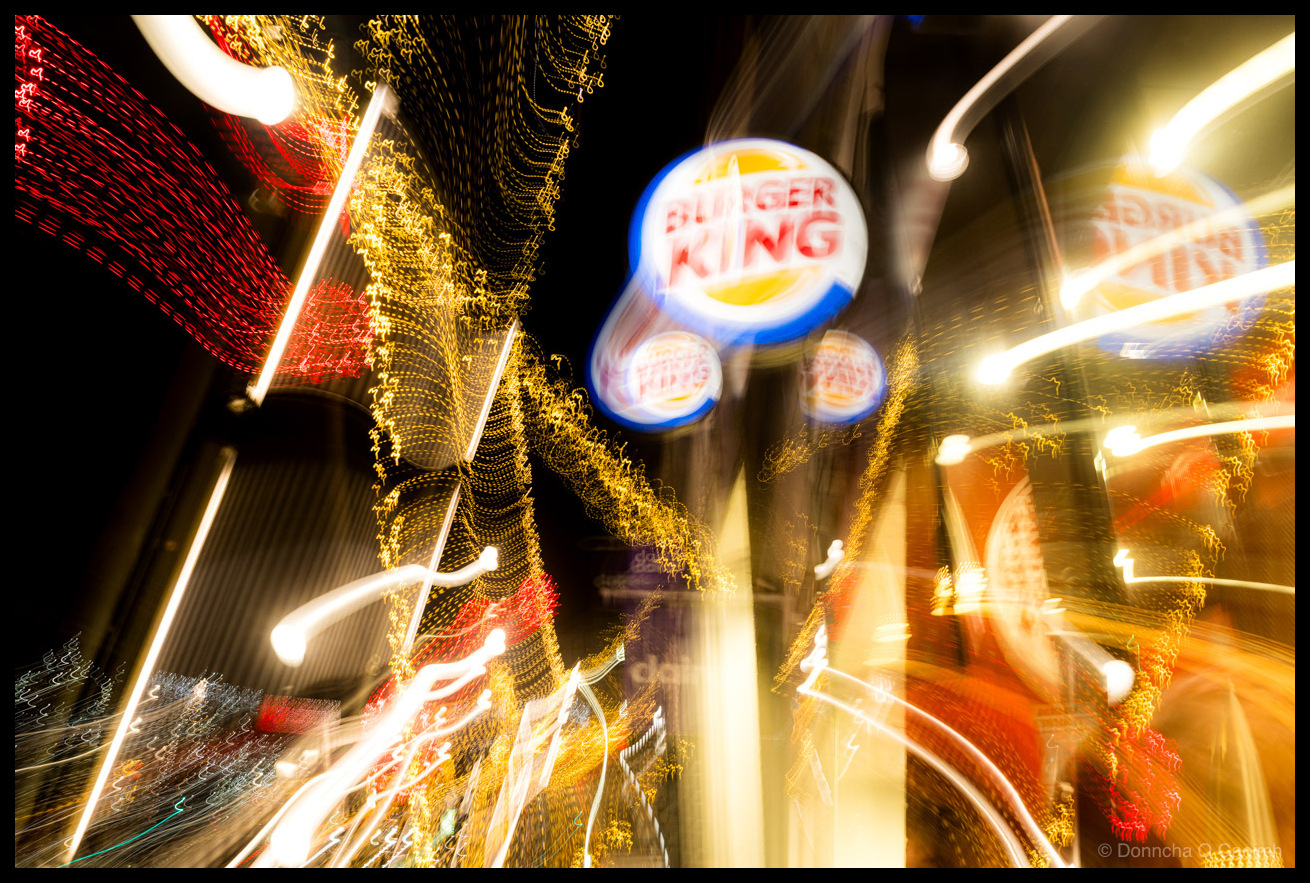
Fast Food, Slow Shutter
The Burger King sign on St Patrick Street shines while Christmas lights move about the frame. A touch of ICM on a cold December evening.
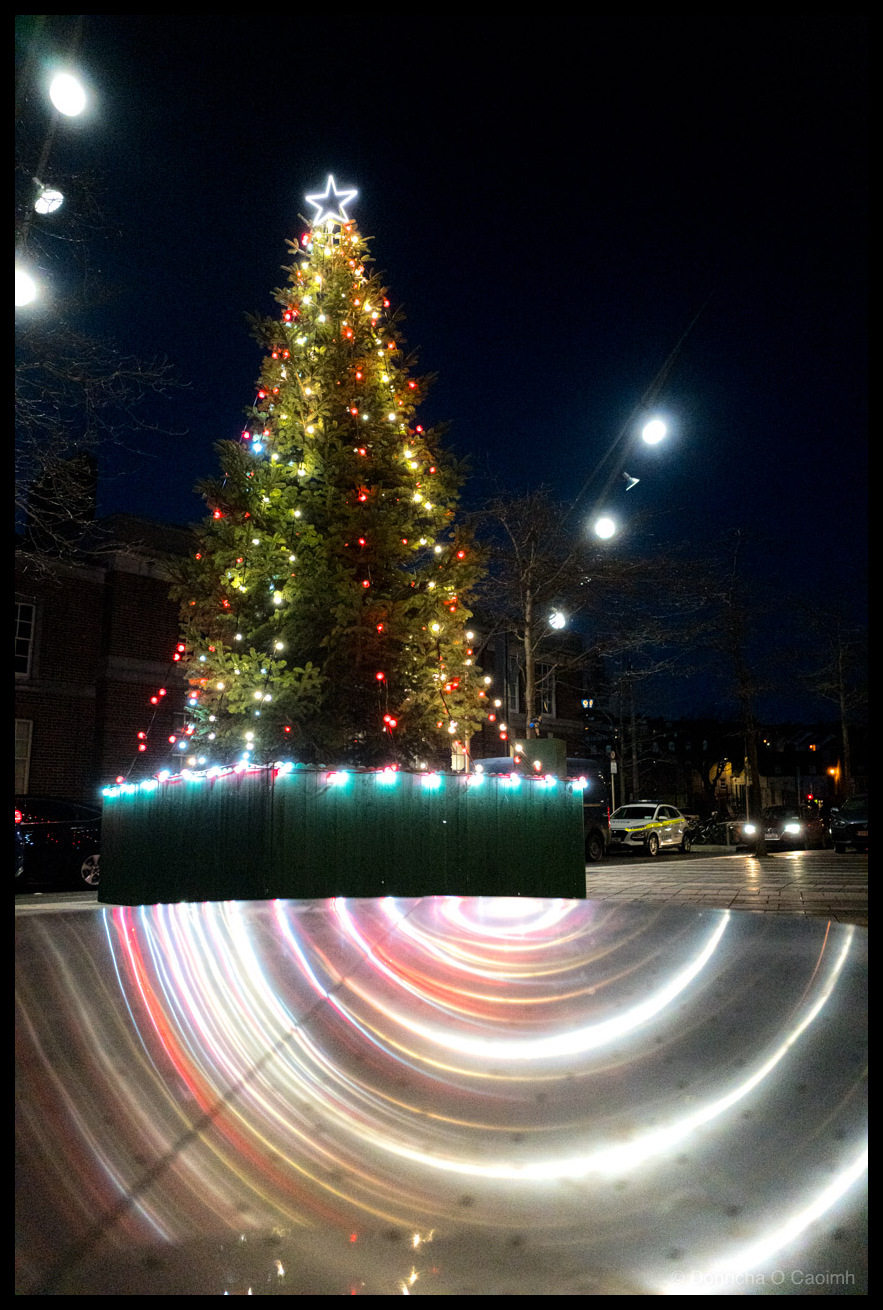
Cornmarket’s Christmas Tree Through Steel
You know that weird liminal period between Christmas and whenever someone finally bothers to take the decorations down? This is it, captured in one slightly surreal shot on Cornmarket Street. That tree was still up on January 2nd, but I expect it’ll be gone in a day or two now. The light effect on the…
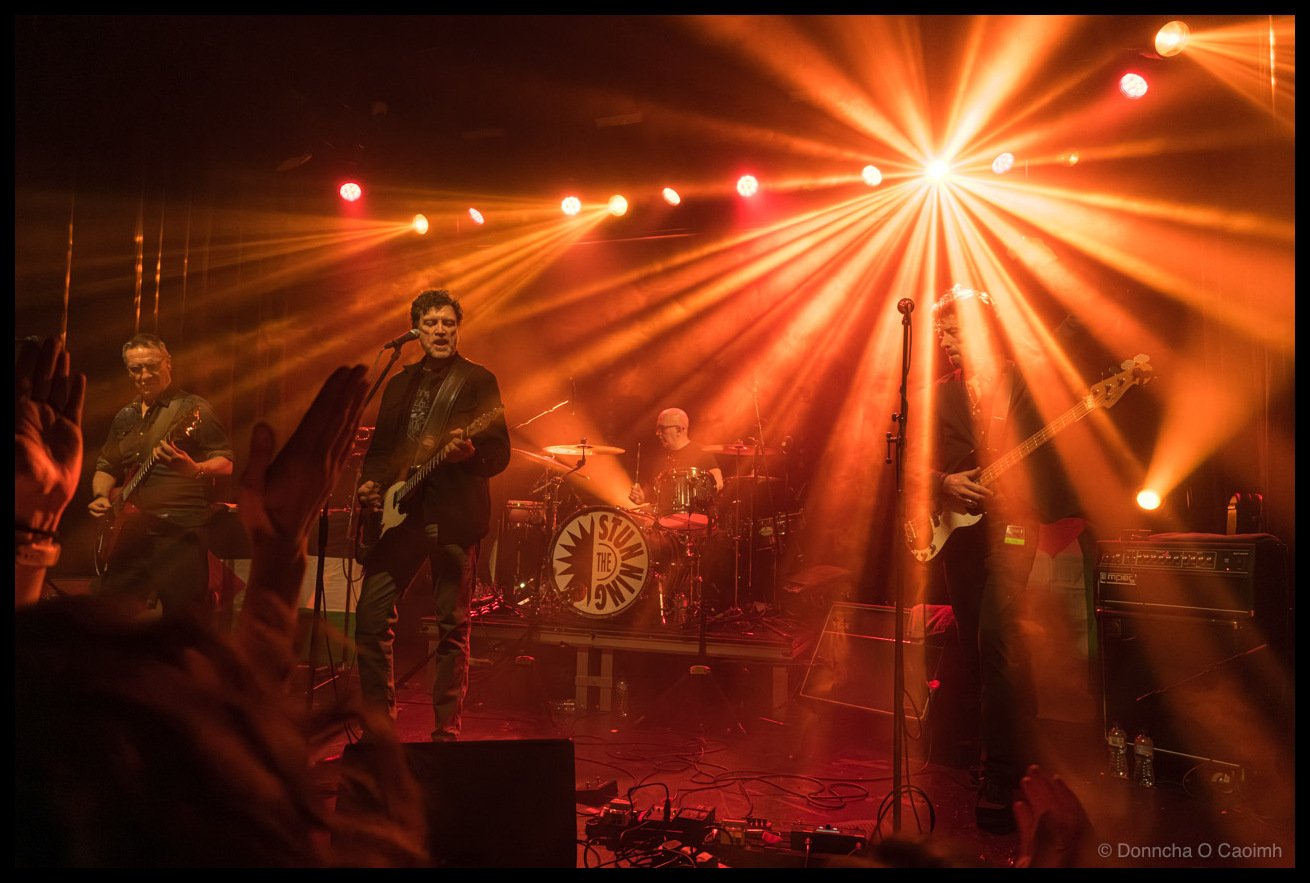
The Stunning Live at Cyprus Avenue
The Stunning have been part of Irish musical life since the late 80s with such hits as “Brewing up a Storm”, “Everything That Rises”, and “Half Past Two”. It was incredible to see them live in Cyprus Avenue!
When the City Blurs By
Panning photos is a nice way to burn through some photos and sometimes a photo or two will look half decent. It’s very hit-and-miss. You have to start panning your camera with the car and then hit the shutter while panning, hoping that you’re staying on your subject. A fun little exercise. 🙂 These images…
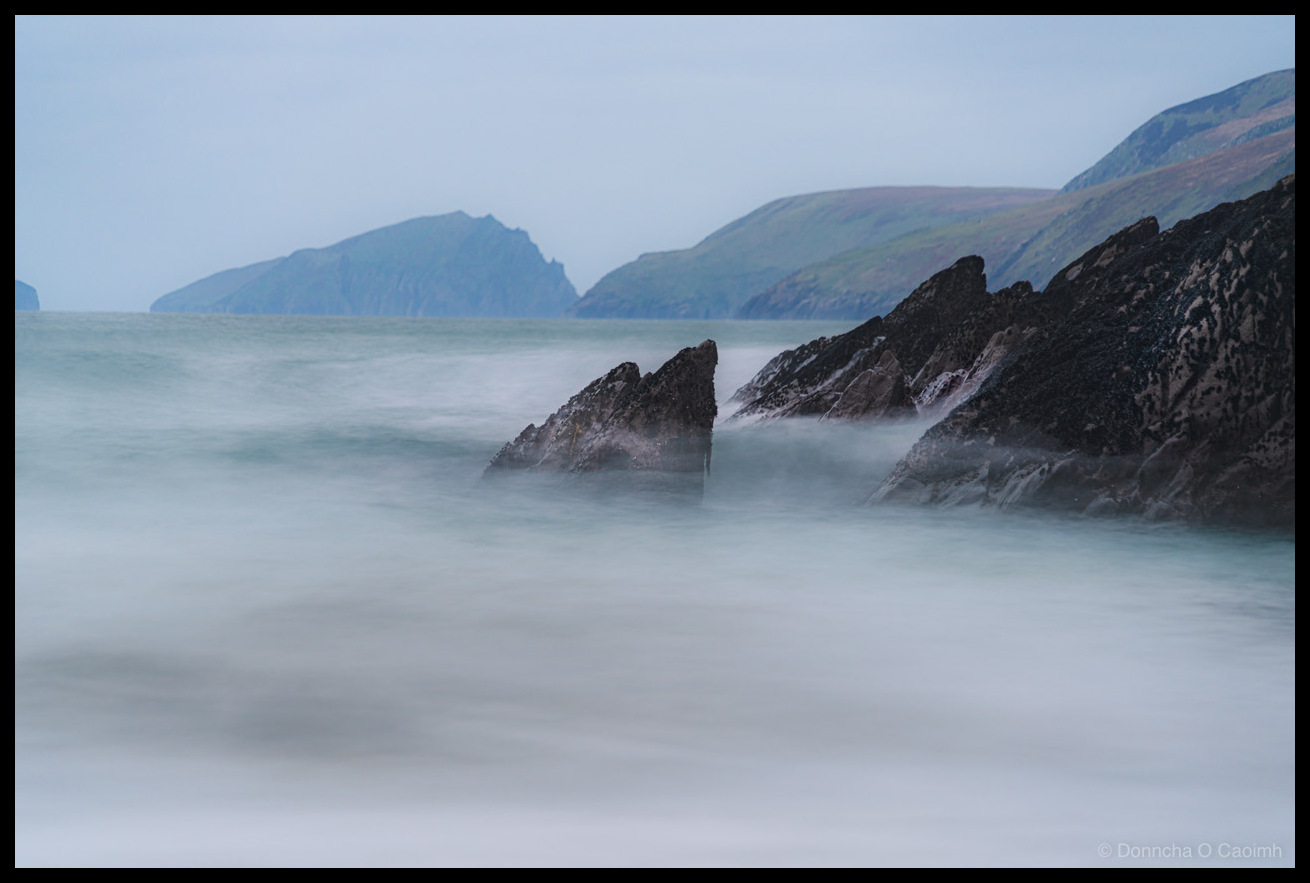
Silk and Stone at Couminole
Waves crash on the rocks at Couminole, Co Kerry but are made misty by a long exposure photo.
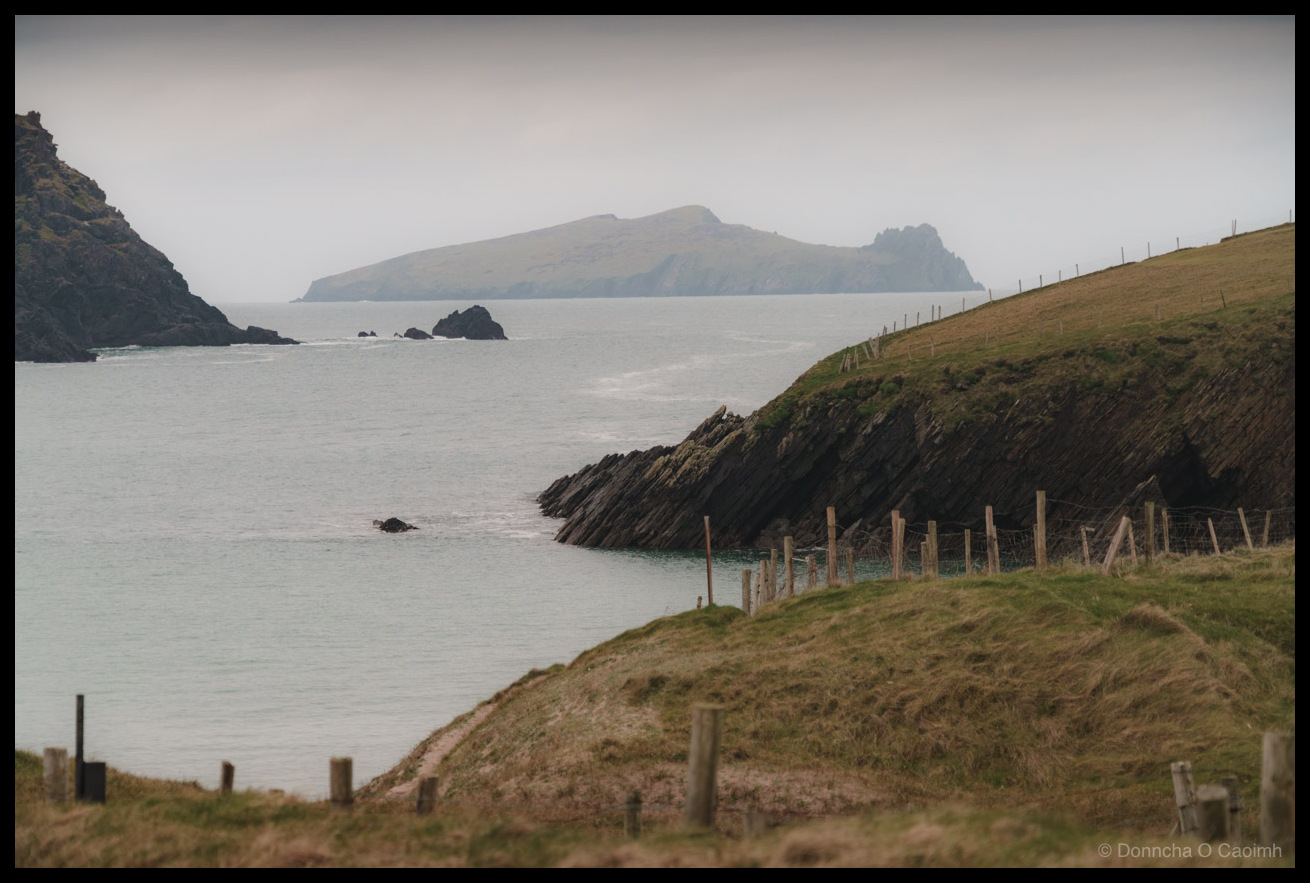
The Dead Man Sleeps
An Fear Marbh as seen from the nearby Dingle Peninsula on a cold December afternoon.