


Nelson’s Column in Trafalgar Square
In 2012 I went for a photowalk around London before a trip to Iceland. Trafalgar Square was on the way!
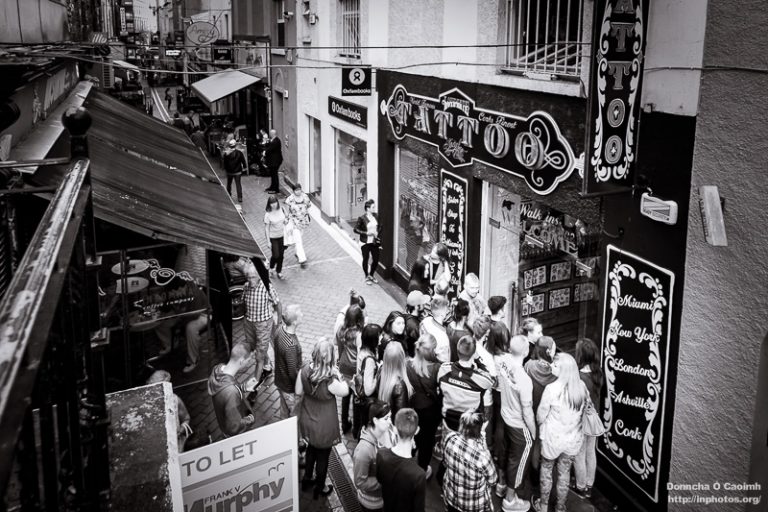
The Love Hate Tattoo Crowd
A new “Love Hate Social Club tattoo shop” opened in Cork today with a bang, or at least a party. There was a big crowd outside from 6pm on waiting to get in and join the party. I hadn’t a notion what was going on, and still don’t except it has something to do with…
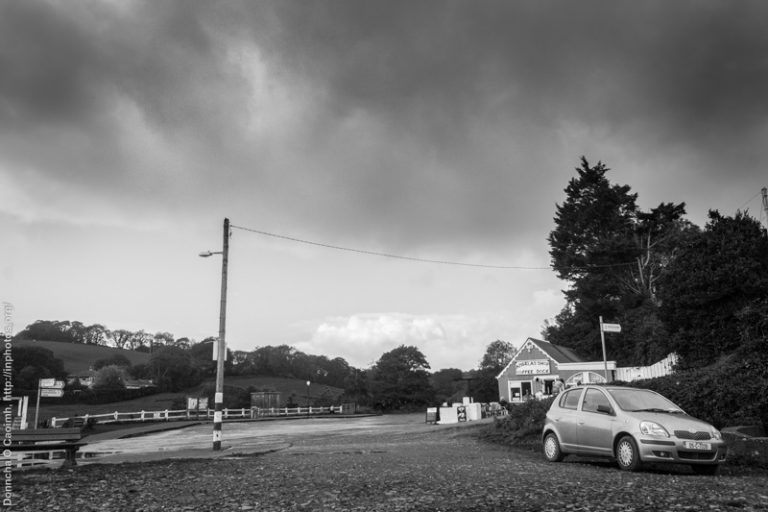
Clouds over Fountainstown
Clouds loom over Fountainstown in 2011.
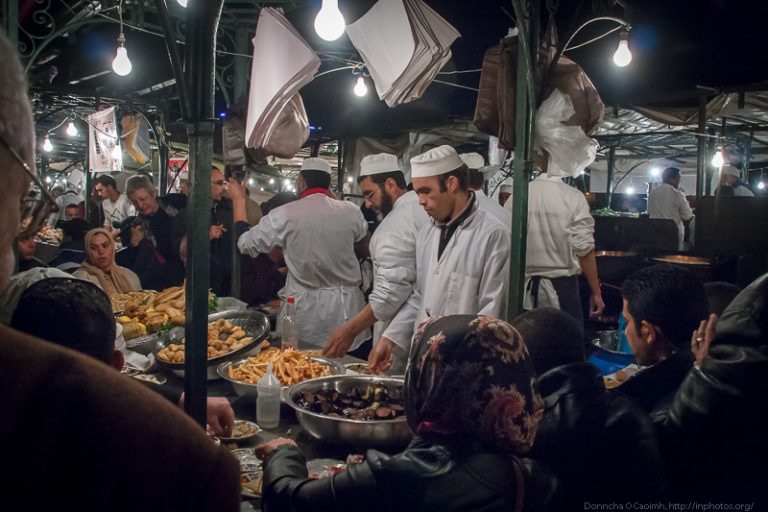
Busy Eating and Preparing Food
The square in Marrakesh is a tourist trap. We ate there the first night in the city and for the same price had a superb meal in a fancy restaurant elsewhere in the city. Avoid!