
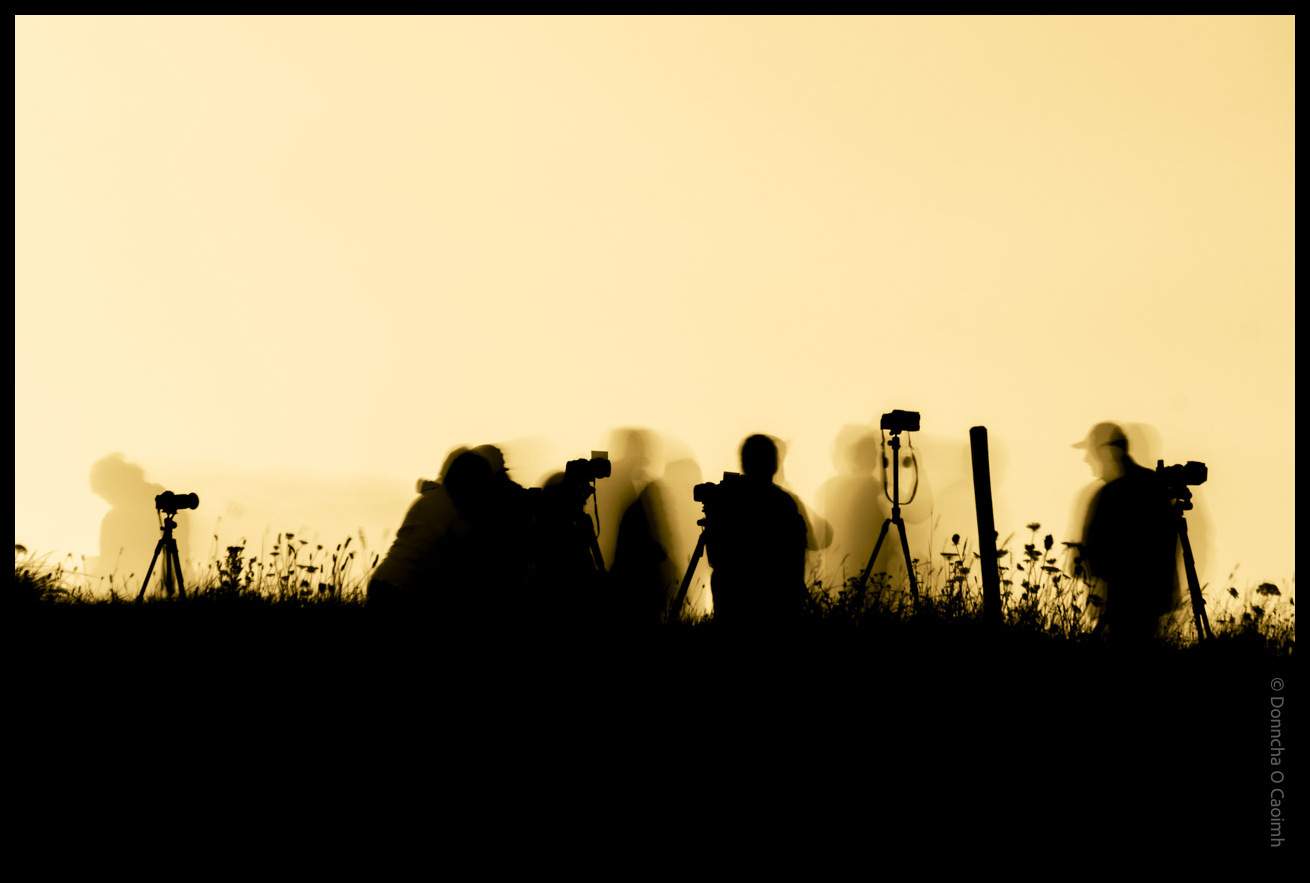

Export photos with a border from Lightroom Classic
This is how I add a nice thick black border to my photos after I export them from Lightroom Classic using free software. This is for macOS, but since the same software exists on Windows, you can do something similar there, but I haven’t used that platform in years, so YMMV. I’m going to presume…
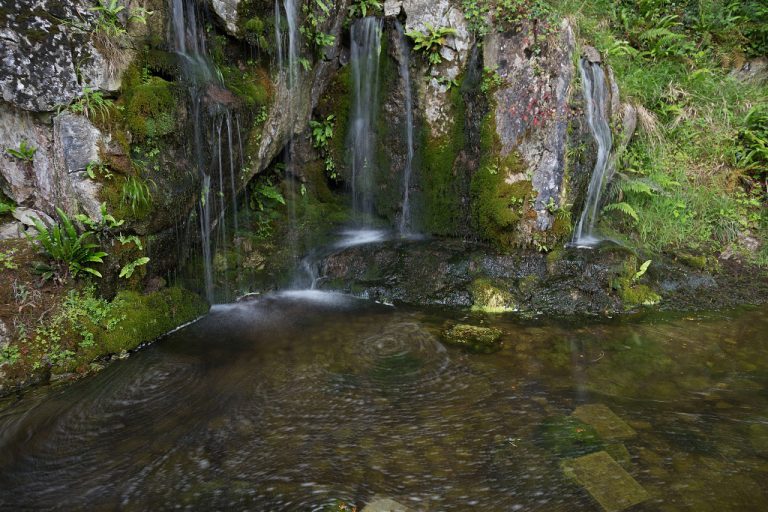
More fun with long exposure stacking of photos
A few months ago I experimented with Imagemagick by using it to merge very similar photos of flowing water to give the impression of a longer exposure. Here are a few more examples. By merging a series of thirty photos taken two seconds apart I created a pleasing image that looks like a sixty second…
Long Exposure Photography through Stacking
The usual way of taking long exposure photos is by leaving the shutter open for a long time. This requires either a dark location or ND filters of some sort on the end of your lens. There is another way and that’s called image stacking. In a nutshell, you take a series of well exposed…