
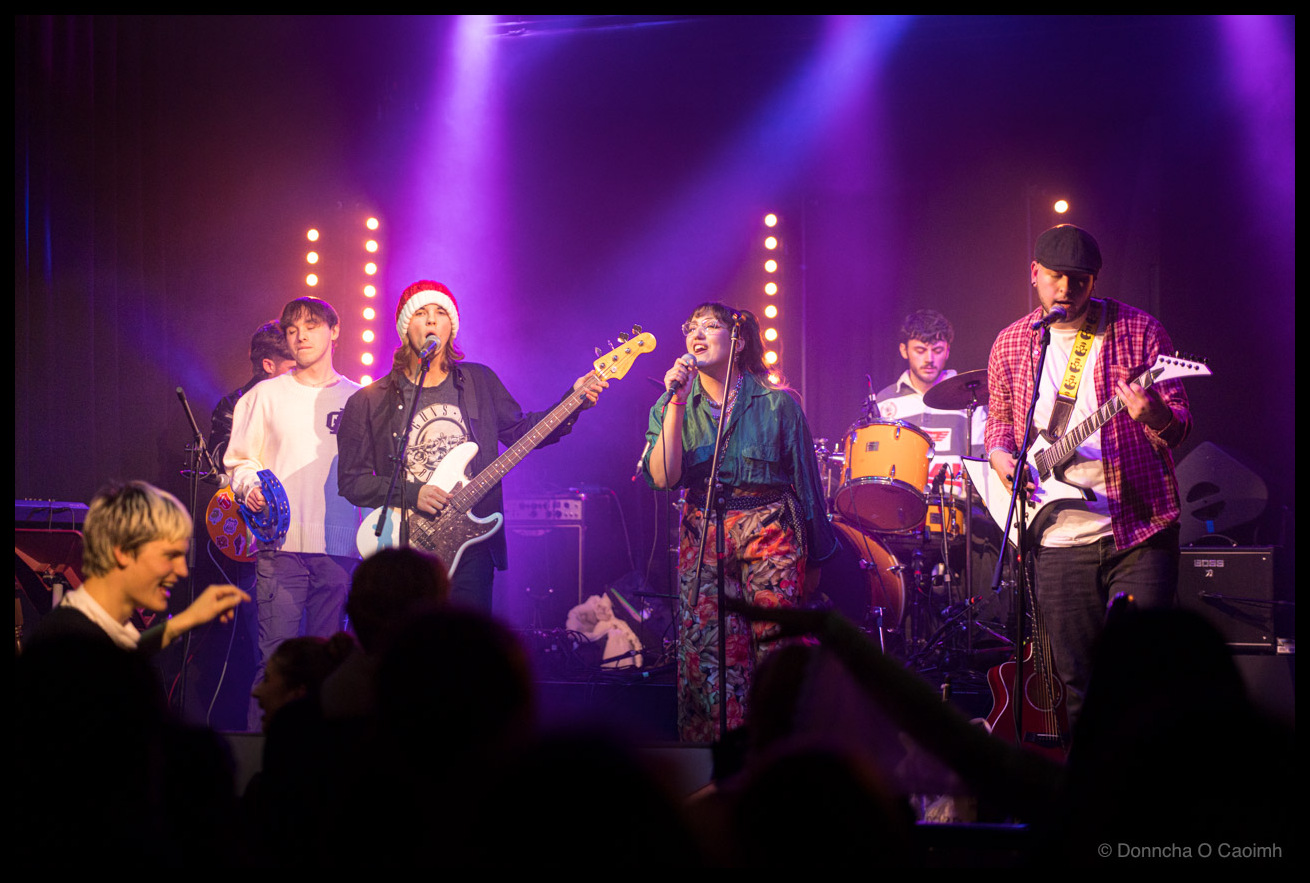

Santa on Bass
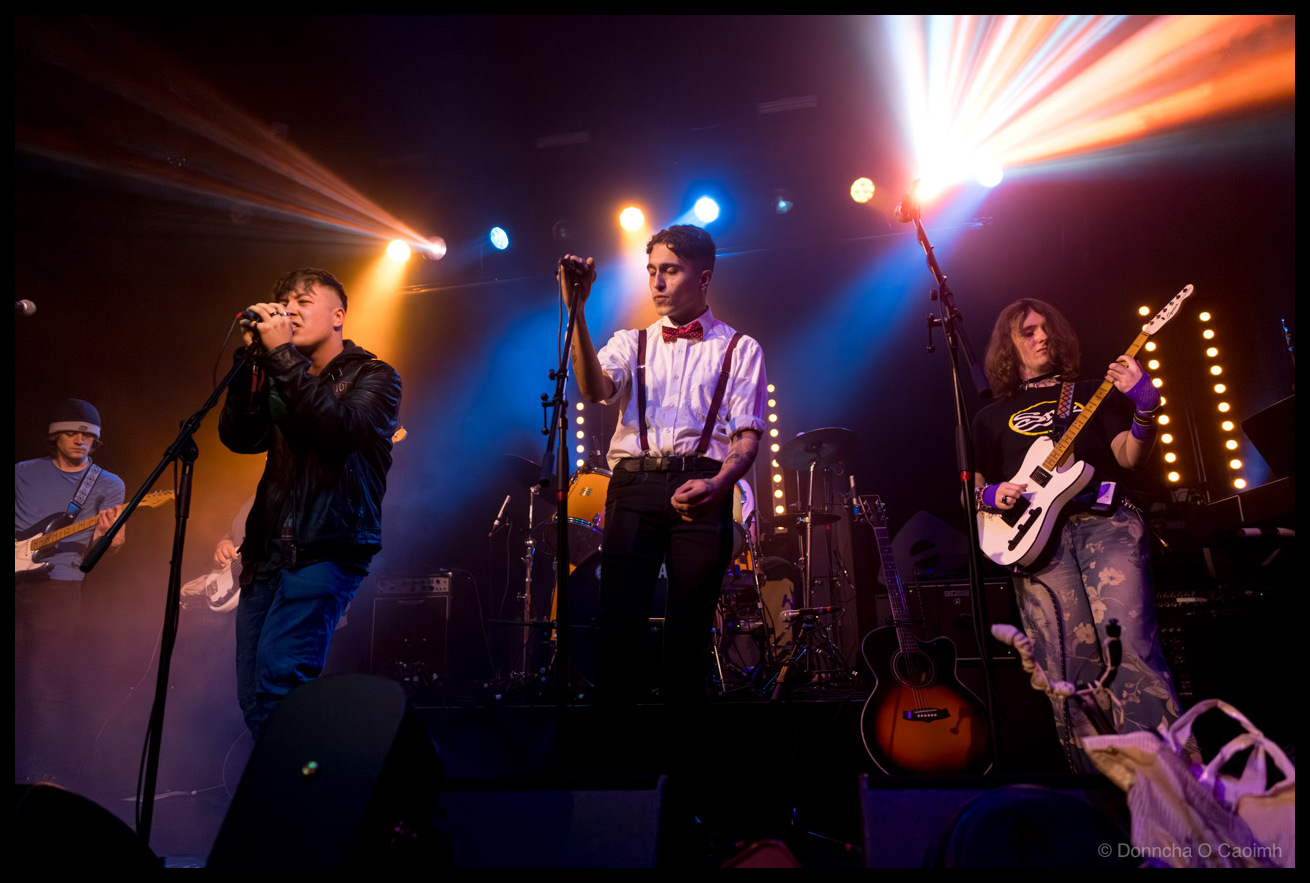
A few more photos from the Cork Academy of Music night in Cyprus Avenue recently. They were so good! videos to watch https://www.youtube.com/watch?v=B6gXSMmU6PQ https://www.youtube.com/watch?v=uz0oUJZ5t30
Future Stars at Cyprus Avenue
The students of Cork Academy of Music took over the stage in Cyprus Avenue last week for a fabulous Christmas concert. For most of them, it was their first time on stage and it was electrifying. The crowd went wild supporting their friends and family and everyone was dancing and having a great time!
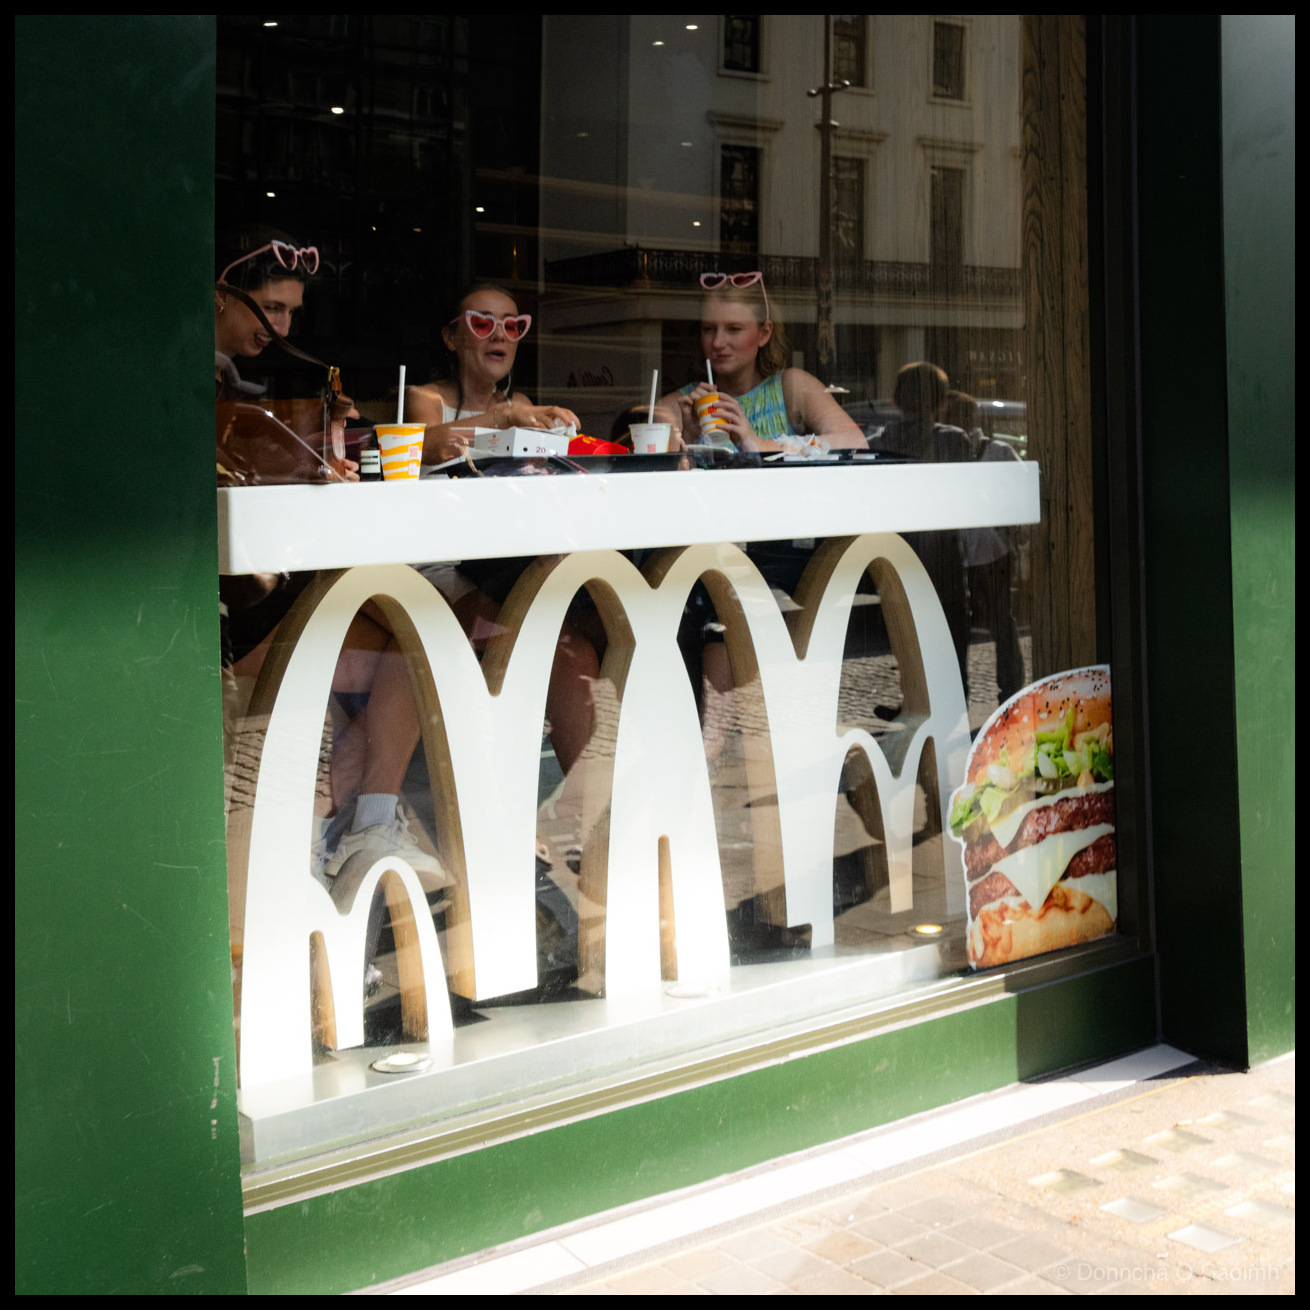
The Heart-Shaped Sunglasses Club
A McDonald’s in London was the restaurant of choice for 3 ladies wearing identical heart-shaped sunglasses on this July day earlier this year. They were sitting in the window, above the McDonald’s arches. I couldn’t resist photographing them. McDonald’s restaurants in Europe, including the UK, use dark green exteriors rather than the bright red and…
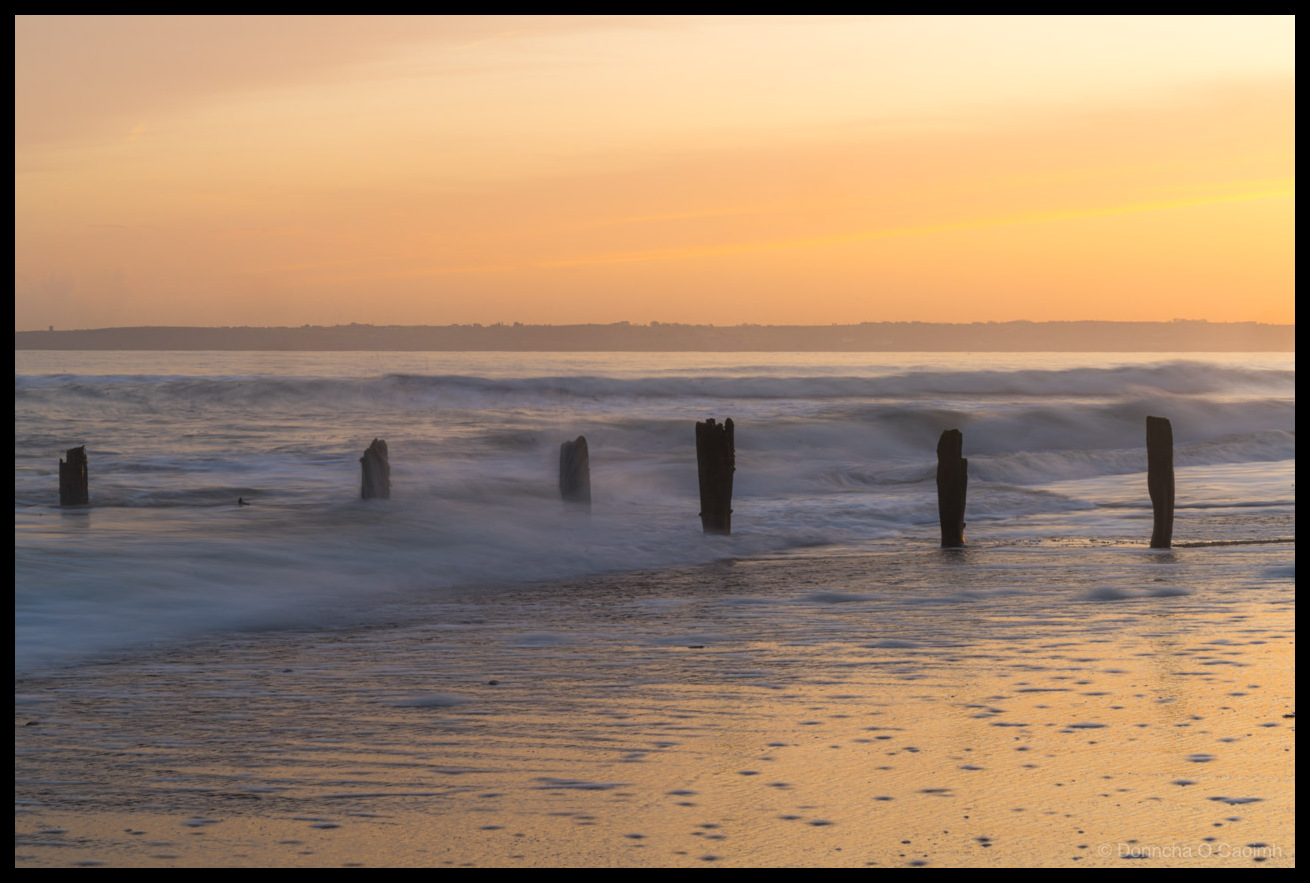
December Light at Youghal
I love taking photos on the beach at Youghal, especially at sunset. This is from a few days ago when the sun was really low in the sky, and it was shining directly along the beach, rather than from behind the beach as it is during the summer! Youghal (pronounced “Yawl”) has one of the…
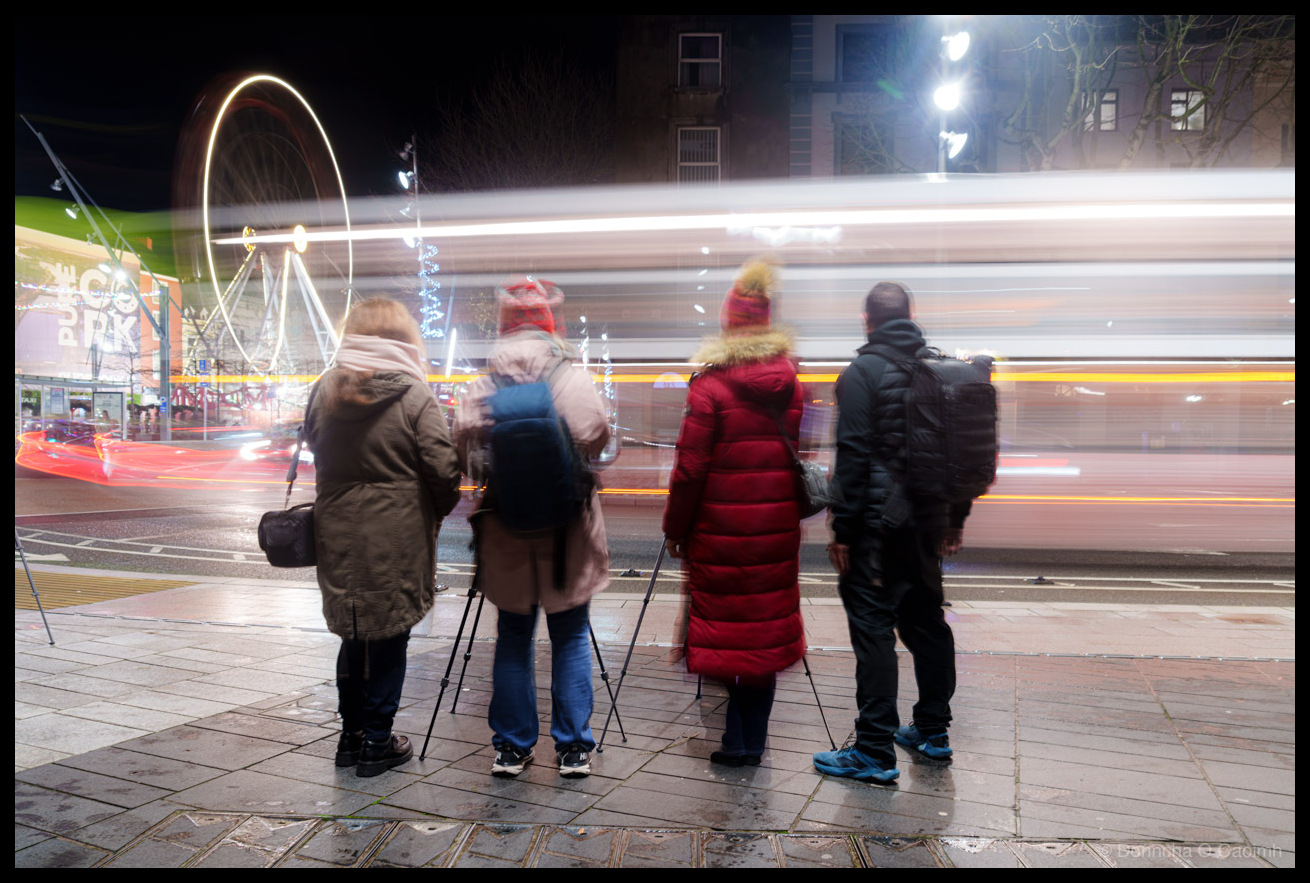
Chasing Light Trails on South Mall
You’re not waiting for a bus and suddenly four busses come along! We had fun with some long exposure photography on. Thursday night.
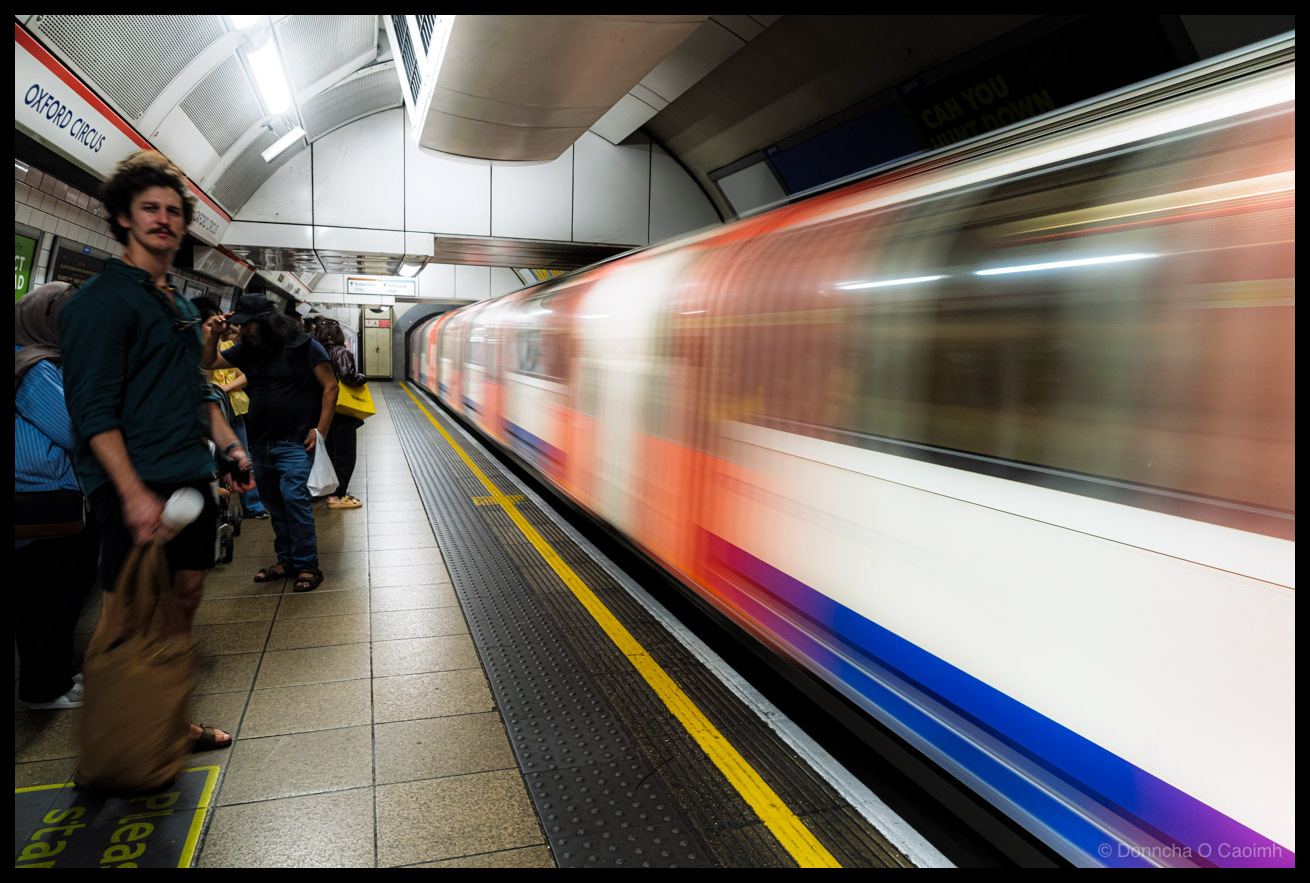
The Rush at Oxford Circus
At the end of a day of street photography we took the train back to Liverpool Street Station from Oxford Circus. That of course calls for the obligatory long exposure shot of the train coming into the station.
Killarney’s Crystal Water
Last October when Blarney Photography Club visited Killarney to photograph the rutting season this year, we took a break from the deer and some of us went to O’Sullivan’s Cascade. This is the Lakes of Killarney as seen from where that waterfall flows into the lake. It was a beautiful clear day. The sky might…
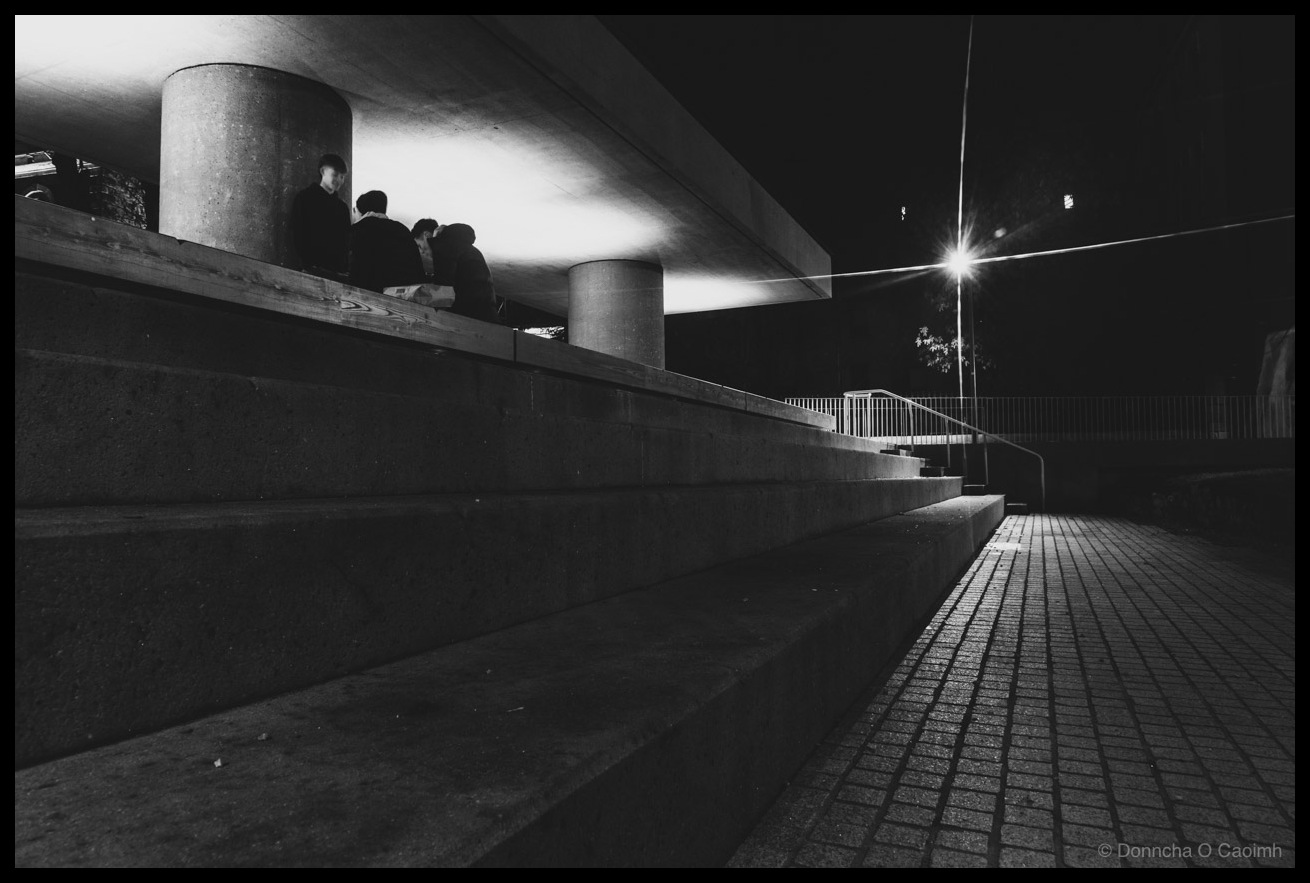
Urban Geometry at Night
The brutalist architecture of Bishop Lucey Park seems to suit black and white night shots. This was only my first time trying to photograph it in such a way but I’ll try again.
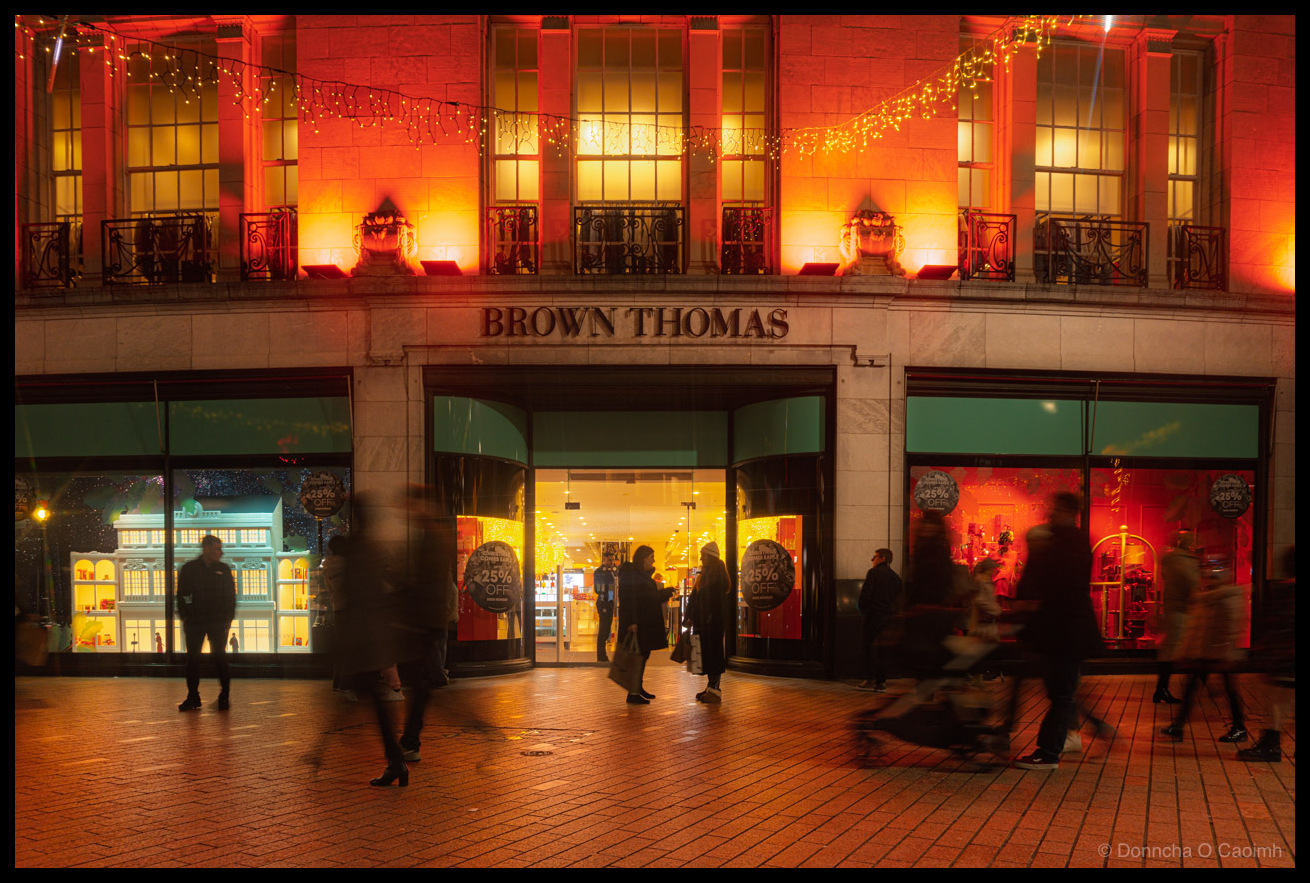
Festive Commerce in Cork
Brown Thomas on Patrick Street, Cork, is all lit up again for Christmas. On Oliver Plunkett Street they’ve put up the usual decorations and they look fabulous! Links:Christian does a nice edit of a panorama in Lightroom Classic. I learned something new – use the aspect slider to adjust the oddities of LrC panoramas. https://www.youtube.com/watch?v=kVKus6EFx7Y
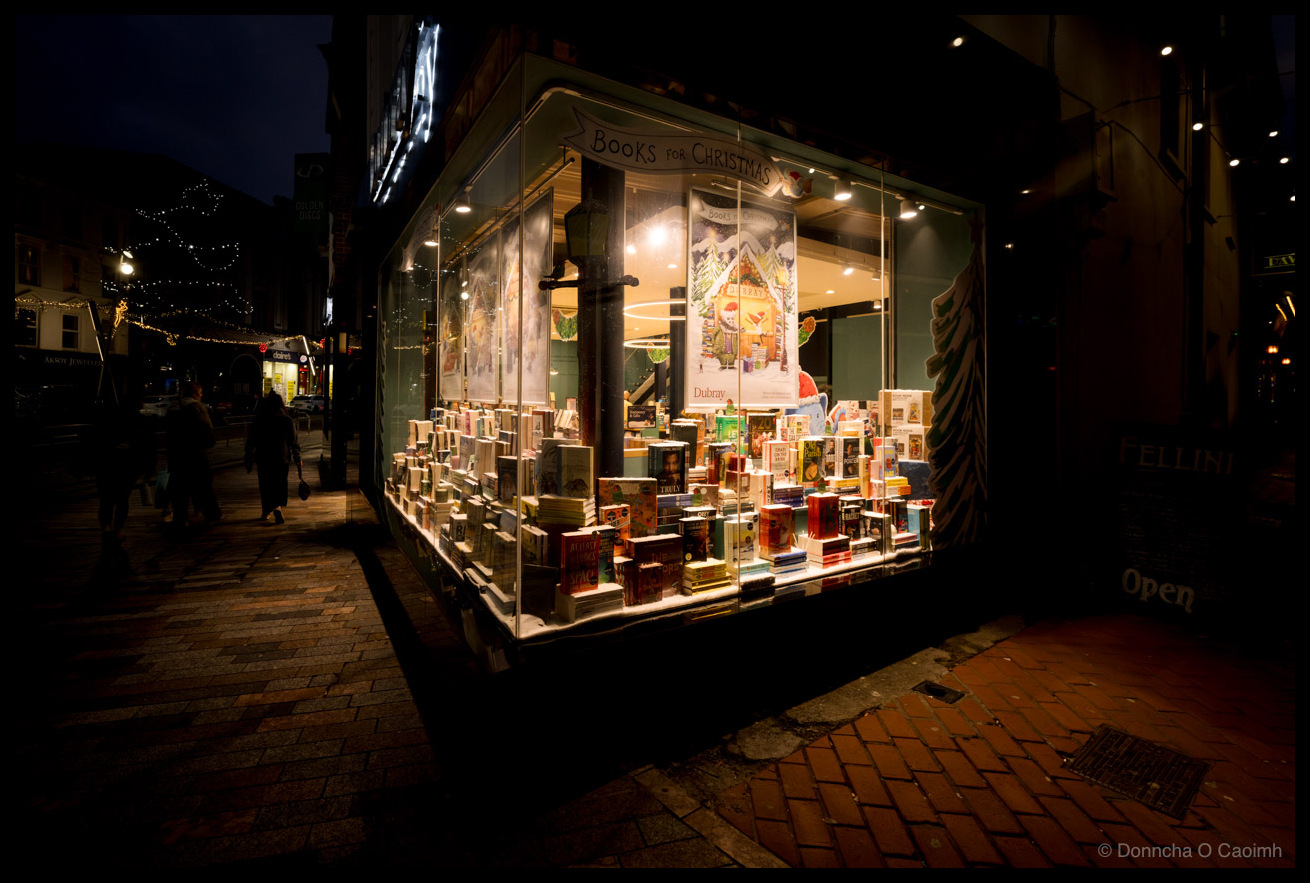
Books for Christmas
Light shines out of the windows of the Dubray bookshop in Cork recently.
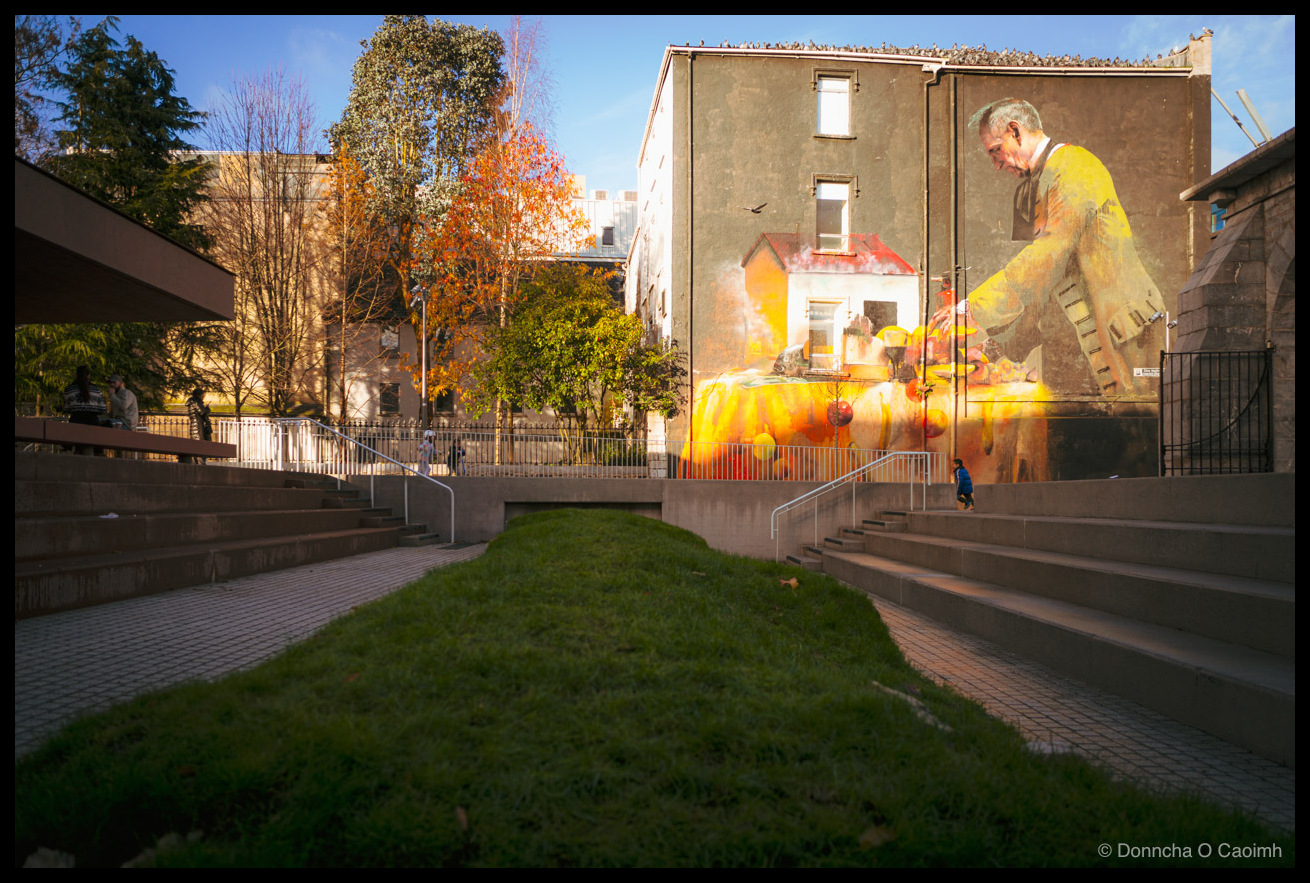
A Sunlit Afternoon on the Wall
This is me standing on the old walls of Cork where I took this photo in Bishop Lucey Park yesterday afternoon. The sun had already started to head to the horizon and it wasn’t even 3pm, but it did light up the mural on the wall and placed the ground in front of me in…
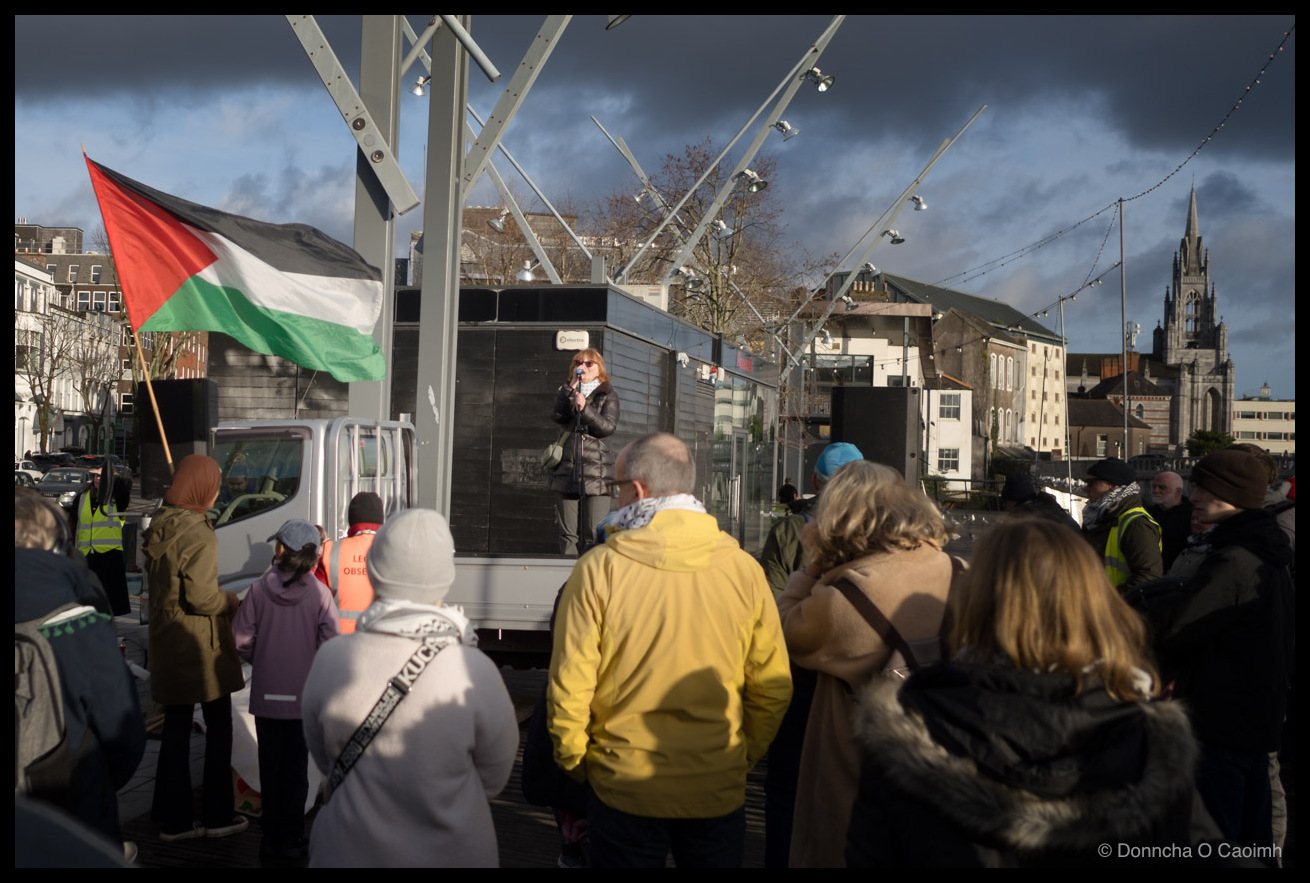
Palestinian Rally in Cork
Today was International Day of Solidarity with the Palestinian People, and it being Saturday there was another rally supporting the Palestinian people and Gaza in Cork. It went from Grand Parade, down St. Patrick’s Street and up Oliver Plunkett Street, finishing up on Grand Parade again, at the corner with South Mall, along the river.