| Aperture | ƒ/8 |
| Camera | ILCE-7M3 |
| Focal length | 28mm |
| ISO | 640 |
| Shutter speed | 1/500s |
| Aperture | ƒ/8 |
| Camera | ILCE-7RM5 |
| Focal length | 62mm |
| ISO | 100 |
| Shutter speed | 1/25s |
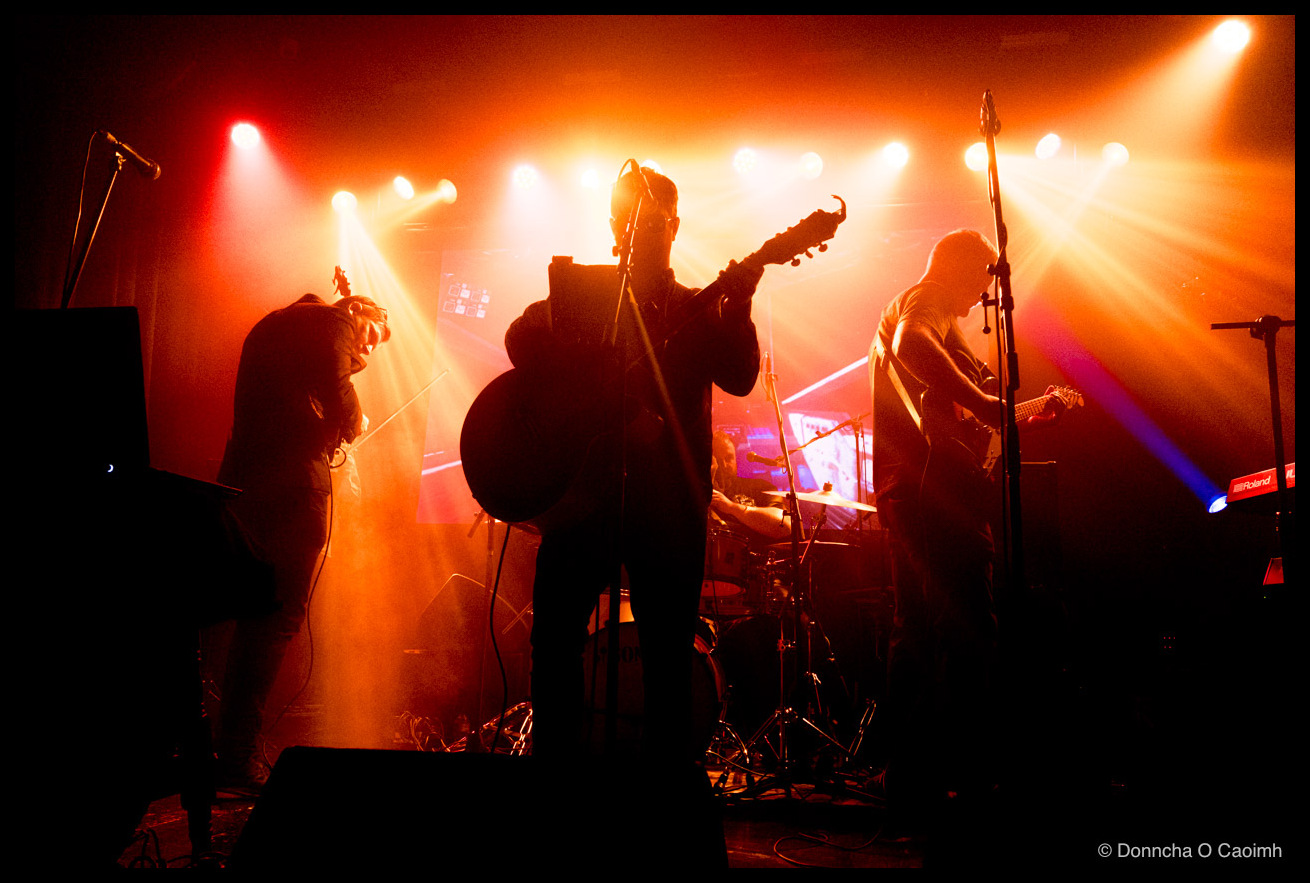

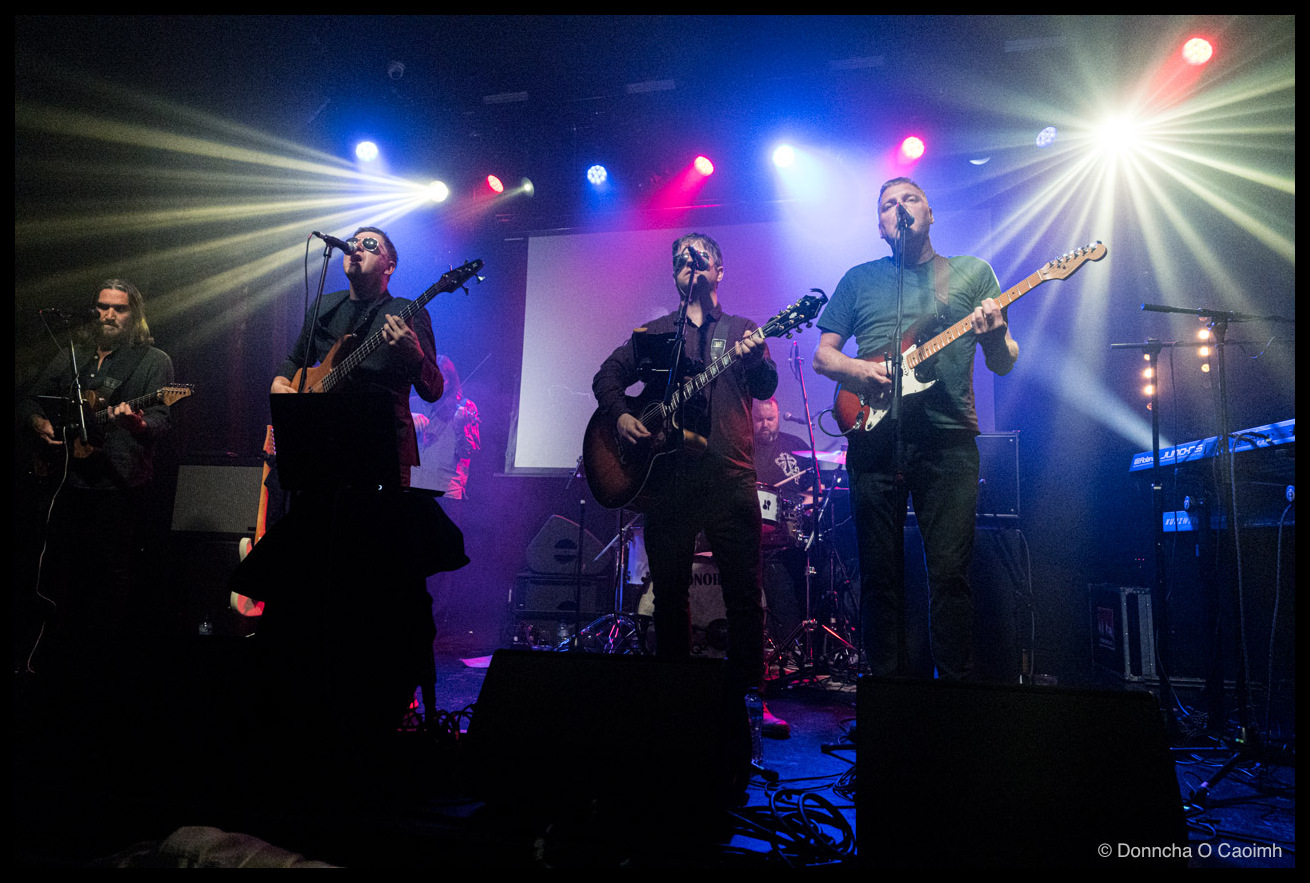
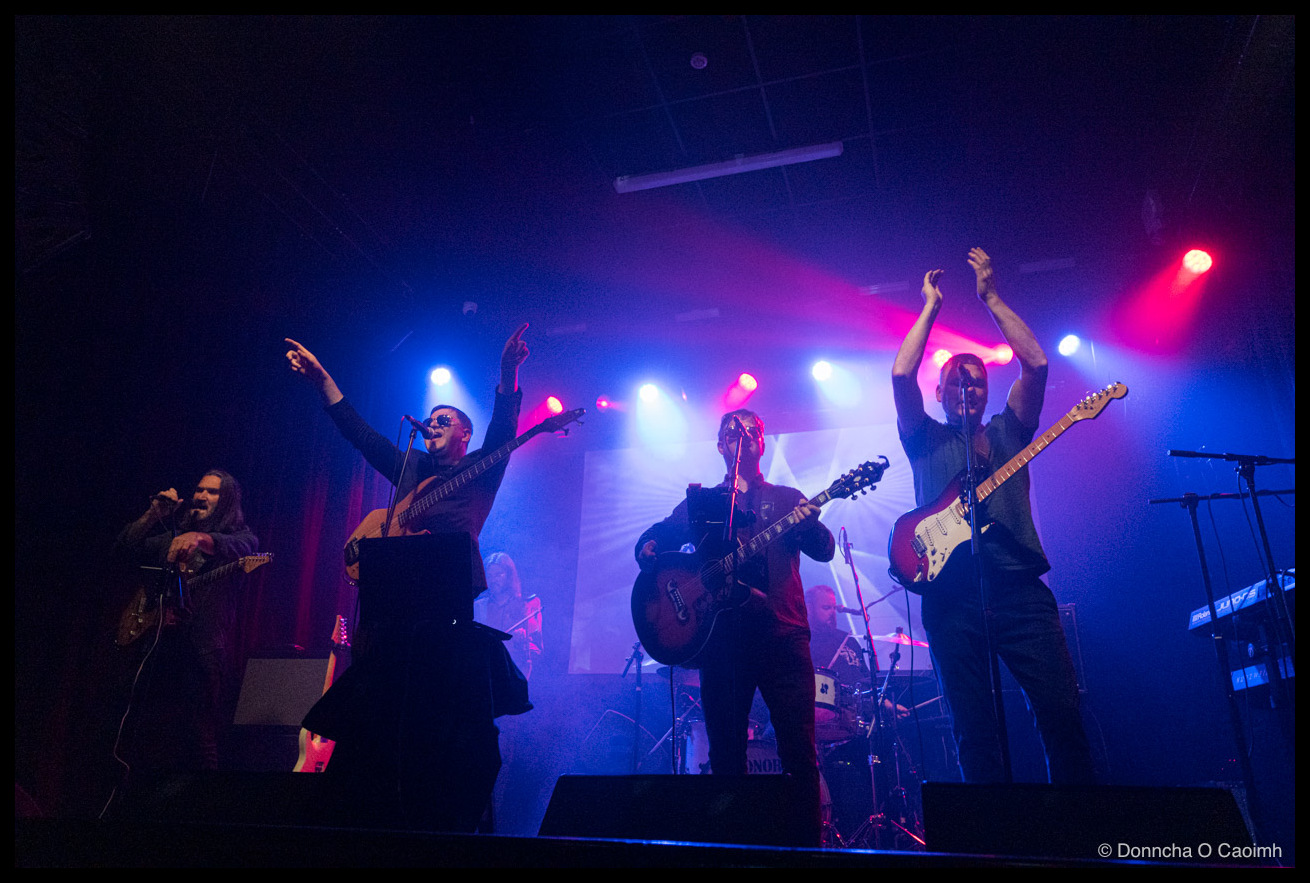
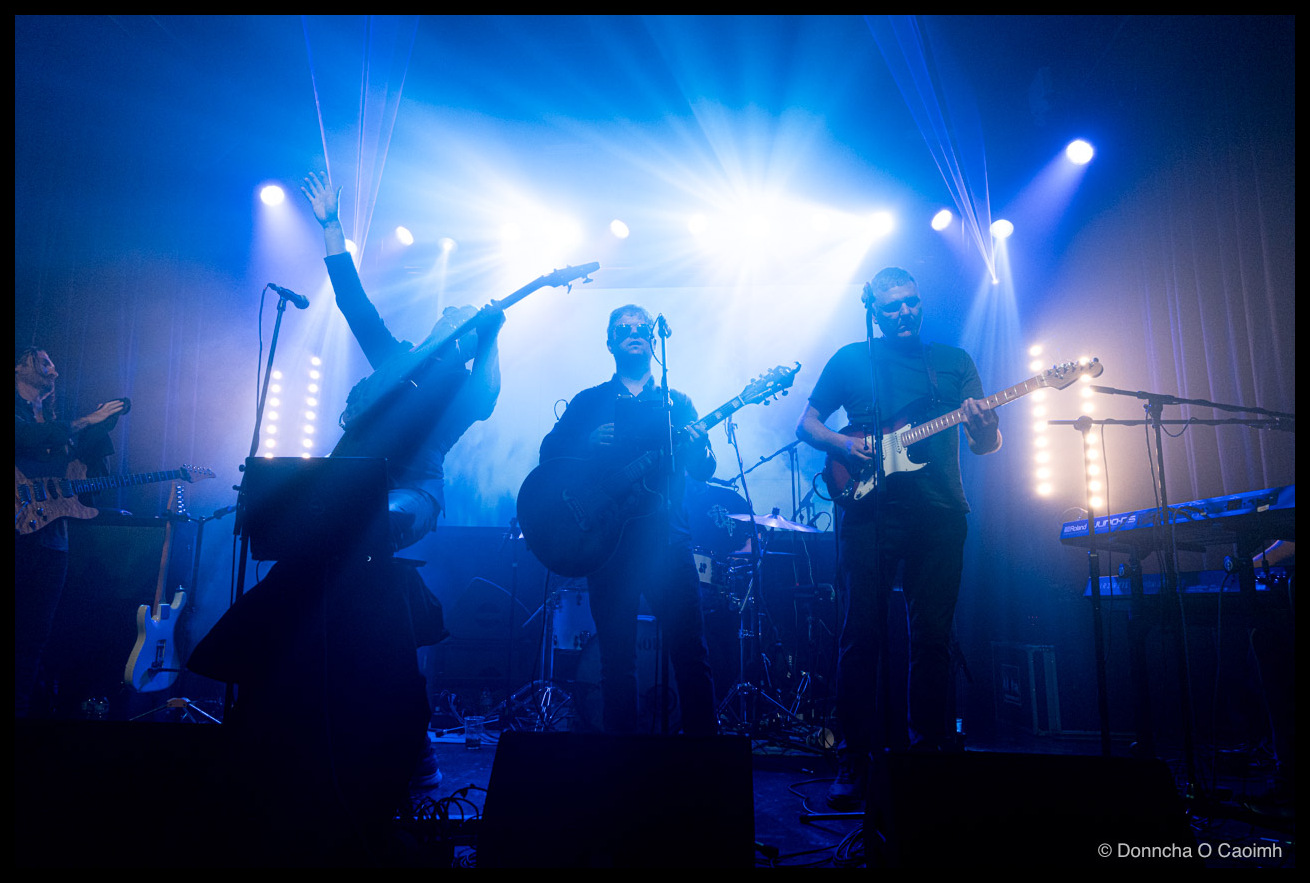
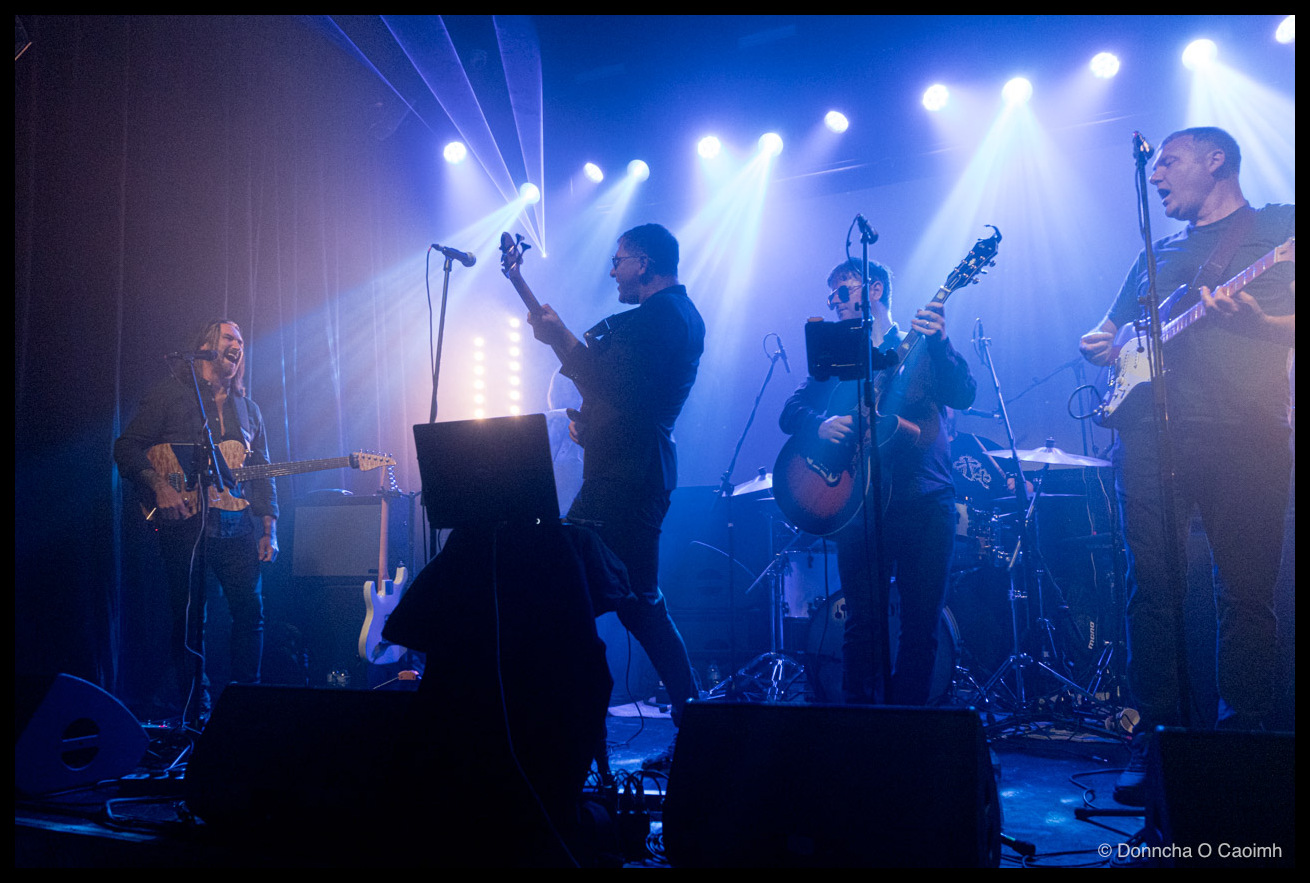
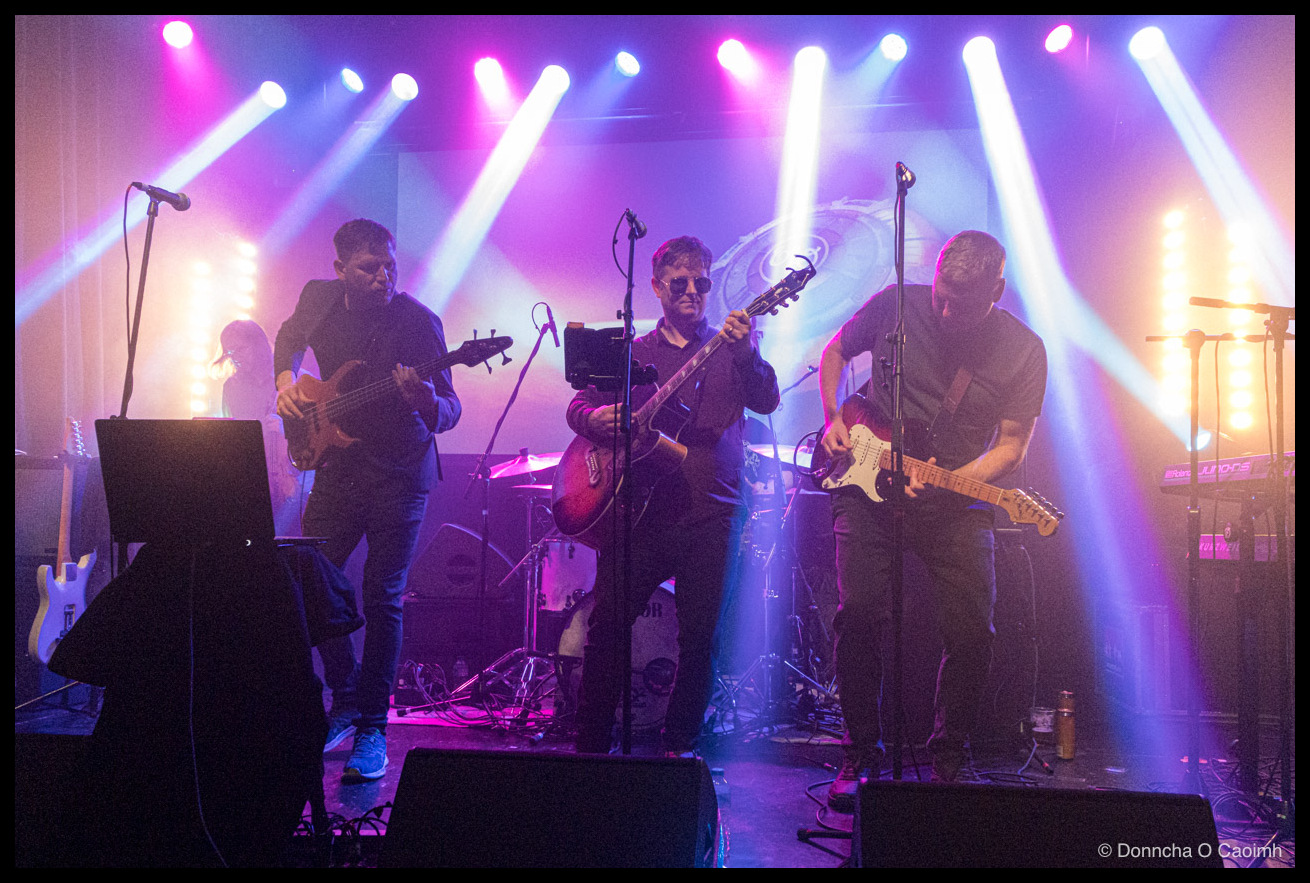
Last night was our second time seeing Showdown – The ELO Experience play at Cyprus Avenue, and I think they might even have been even better than the previous time!
| Aperture | ƒ/5 |
| Camera | ILCE-7RM5 |
| Focal length | 24mm |
| ISO | 10000 |
| Shutter speed | 1/250s |
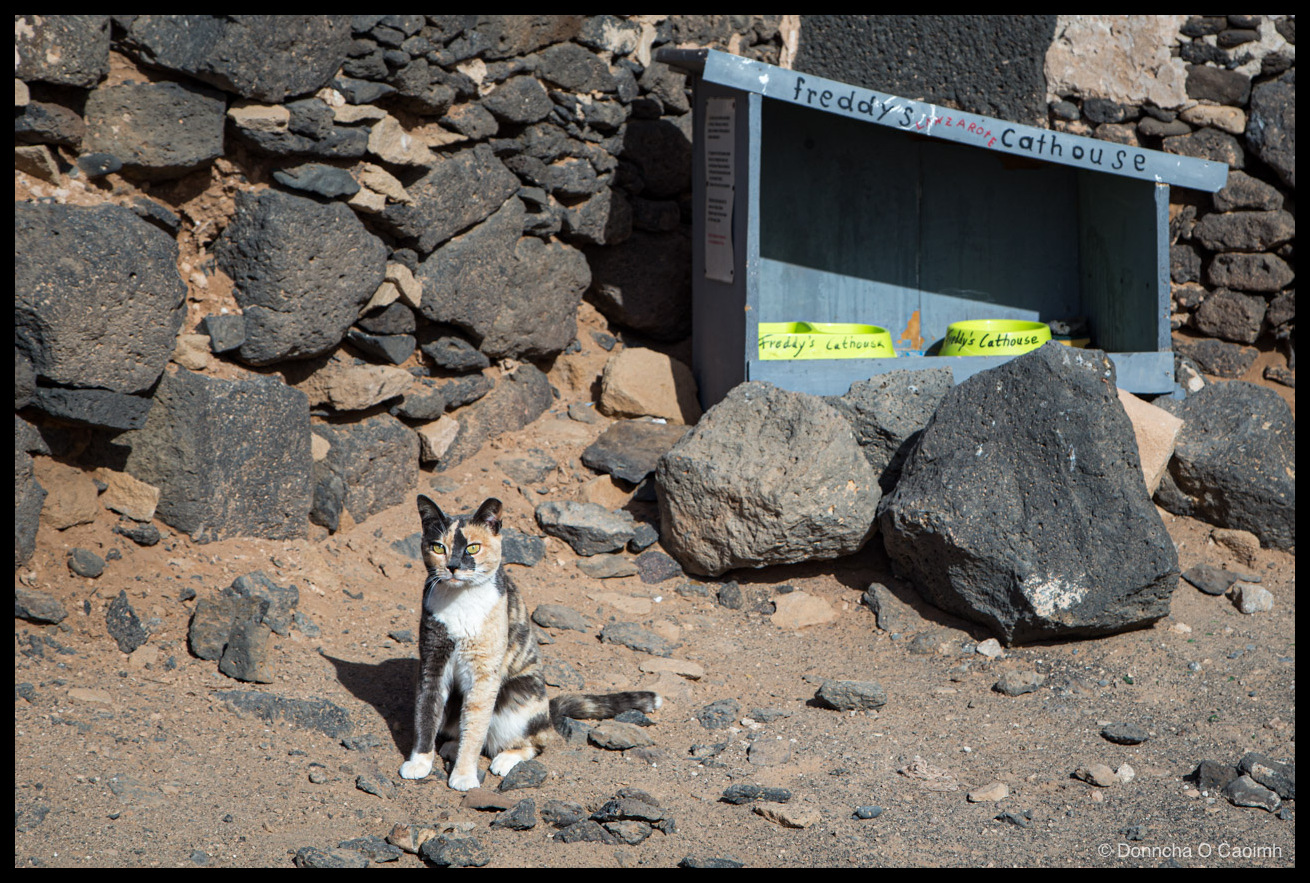
A calico cat sits in the sun in Playa Blanca, Lanzarote on a warm January afternoon in 2017. The charity, Freddy’s Cat House, erected the feeding house you can see in the background.
| Aperture | ƒ/8 |
| Camera | Canon EOS 6D |
| Focal length | 73mm |
| ISO | 100 |
| Shutter speed | 1/500s |
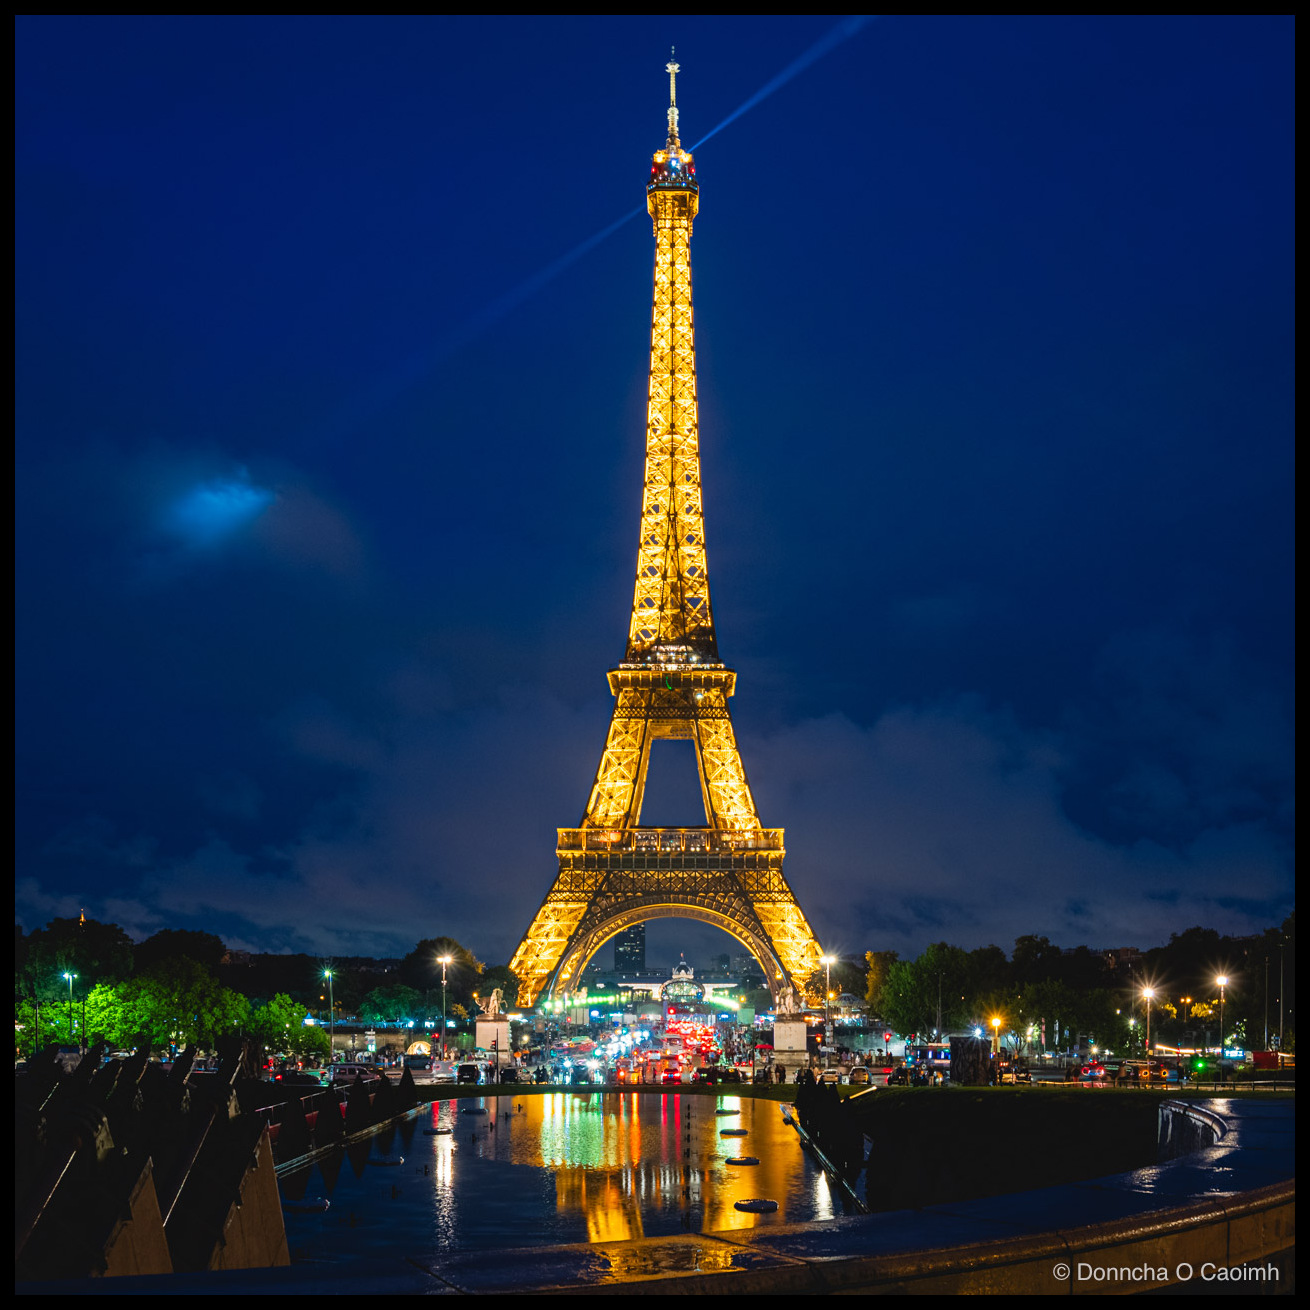
The massive Eiffel Tower glows golden as it is viewed from the Trocadéro nearby.
| Aperture | ƒ/4 |
| Camera | ILCE-7M3 |
| Focal length | 26mm |
| ISO | 640 |
| Shutter speed | 1/25s |

Groynes in the sand as the water rushes away to do battle with another wave coming in. The ever-present push and pull of the tide, defeated for some time at least by these wooden posts.
| Aperture | ƒ/7.1 |
| Camera | ILCE-7RM5 |
| Focal length | 24mm |
| ISO | 100 |
| Shutter speed | 2s |
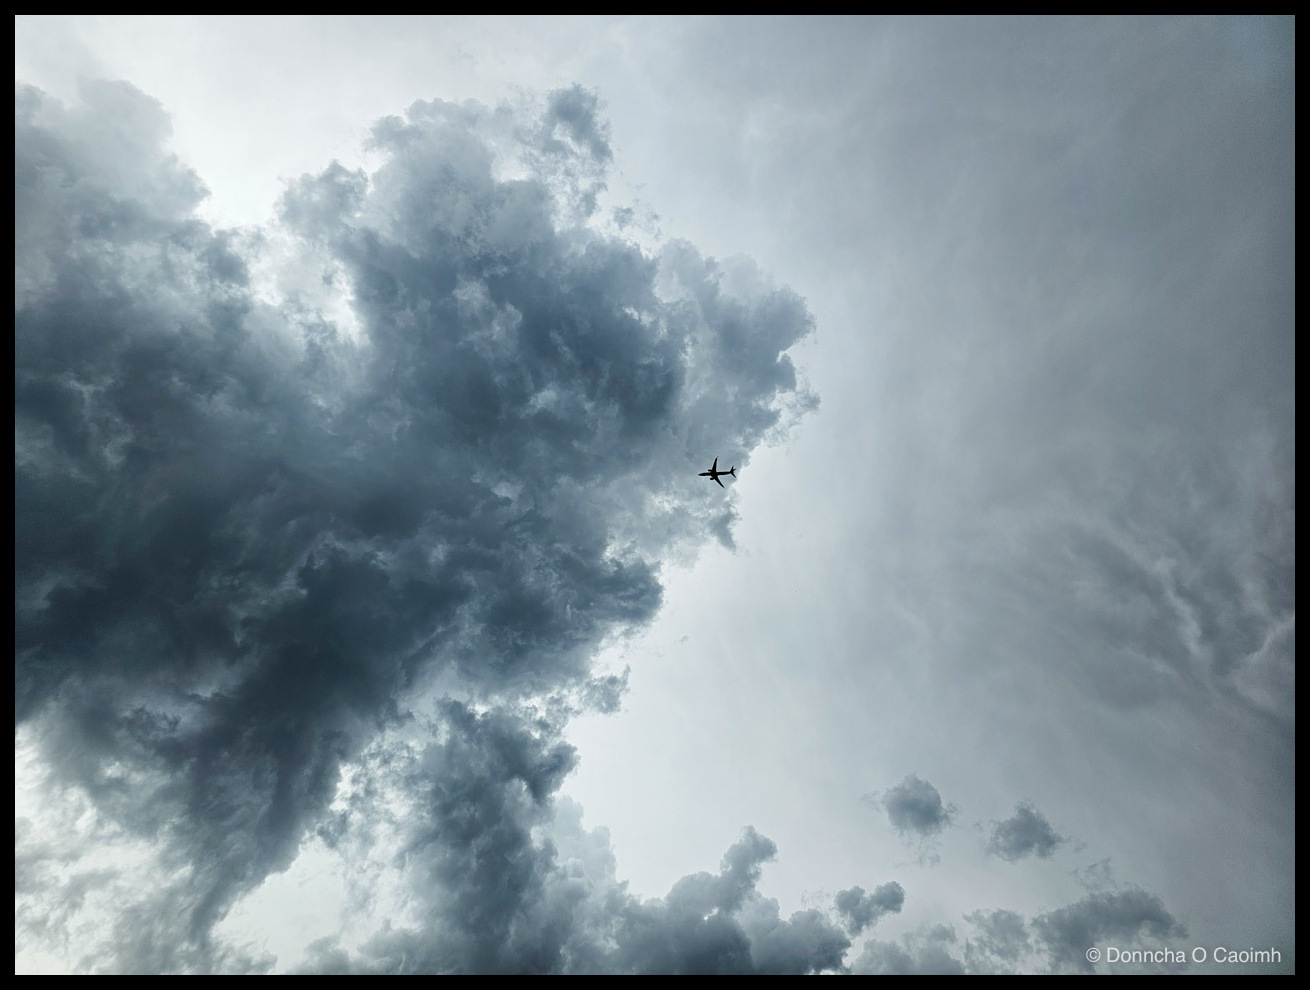
Two days of unbroken Cork sunshine had to end somewhere, and they ended like this. I was in the posh Dunnes in Bishopstown and when I came out the sunny sky became a brooding wall of cloud piling up overhead just as a jet lifted off.
From the ground it looked tiny, but that’s distance playing tricks; it’s almost certainly a 737, already well into its climb and dwarfed by a sky that had spent 48 hours stewing in the heat and finally decided it had had enough. I watched it pick along the edge of the dark stuff before slipping into the brighter side. Got the shot, the rain started before we got to the car with the shopping.
The heatwave was officially over, thankfully.
| Aperture | ƒ/1.7 |
| Camera | Galaxy S23 Ultra |
| Focal length | 6.3mm |
| ISO | 10 |
| Shutter speed | 1/900s |

A scarlet-railed bridge, a limestone arch, and a pond almost still enough to hand you a second bridge for free. I caught this one at Fota Wildlife Park, framed through a gap in the spring foliage, the fresh greens crowding in from both sides.
The contrast is what pulls me in. Those bold red posts and rails against the cool grey stonework and the soft greens all around, with the whole thing folded neatly into its own reflection on the water.
There’s a wire mesh tucked under the arch, presumably to keep the residents on the right side of the fence, which is a gentle reminder this isn’t just a pretty ornamental pond but part of a working wildlife park.
Thanks Henry for the walk around the park that Sunday morning.
| Aperture | ƒ/5.6 |
| Camera | ILCE-7RM5 |
| Focal length | 225.1mm |
| ISO | 250 |
| Shutter speed | 1/800s |
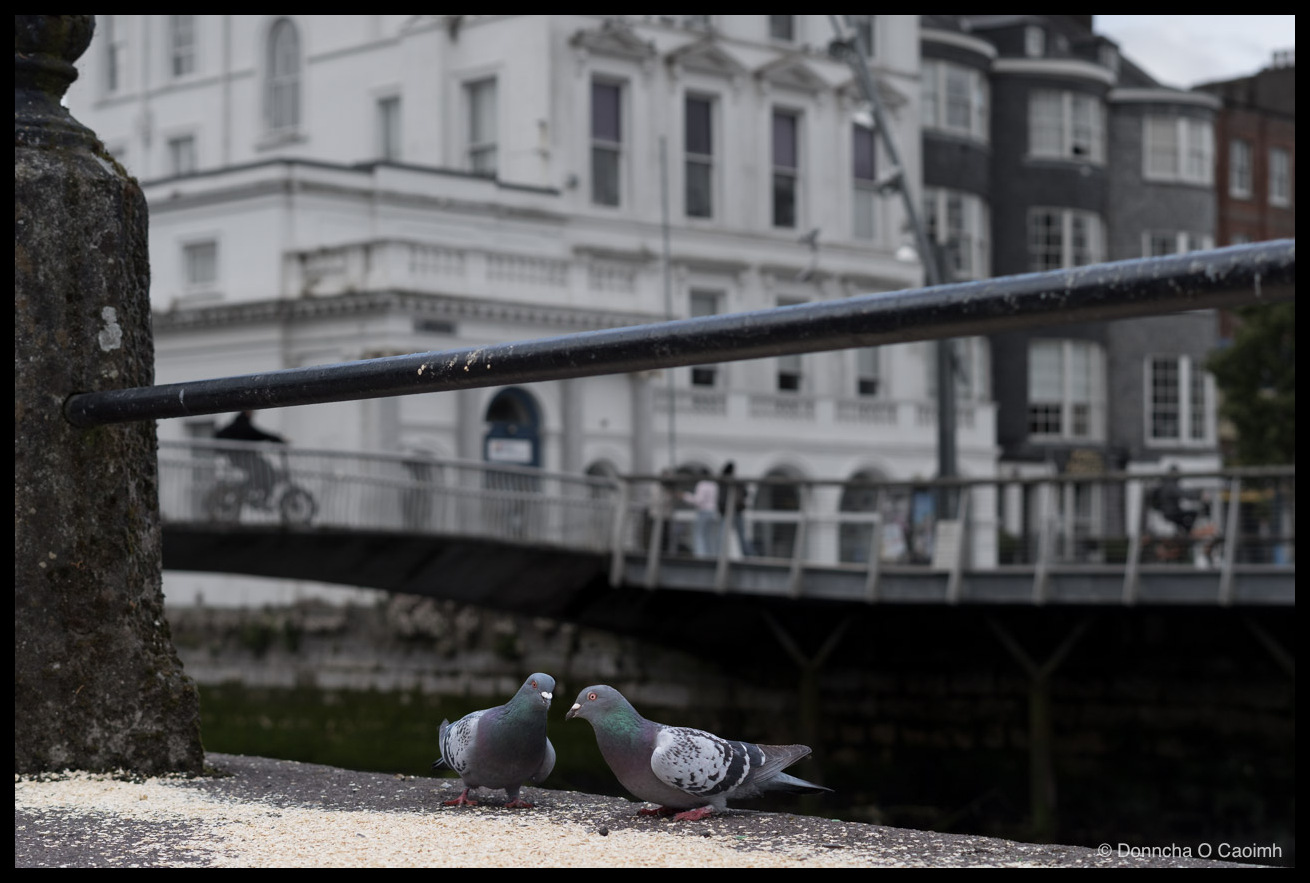
Two pigeons, one pile of grain, and a standoff that never became a fight. There was plenty of food for everyone on Sullivan’s Quay, Cork.
| Aperture | ƒ/4 |
| Camera | ILCE-7RM5 |
| Focal length | 50mm |
| ISO | 320 |
| Shutter speed | 1/2000s |
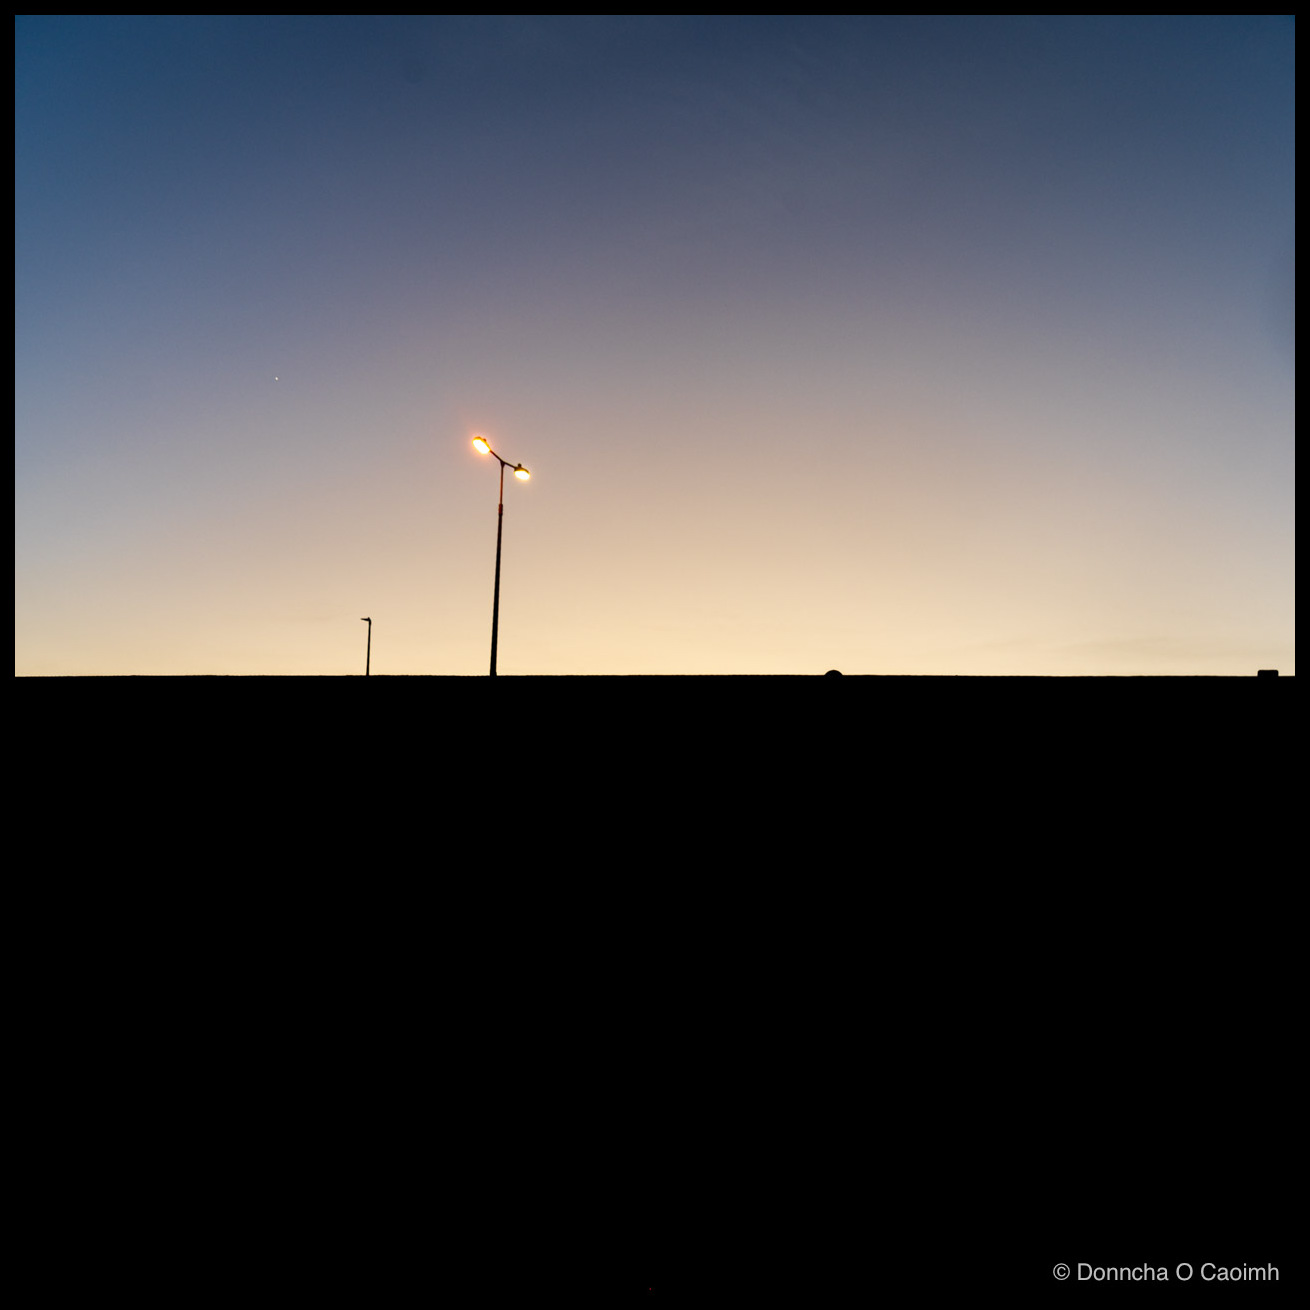
The sun has almost set and still casts an orange glow on a clear sky.
I was down at Youghal Beach facing the afterglow, and instead of the big dramatic sunset I half-expected, I got this: a clean gradient running from deep blue at the top to a warm orange seam along the horizon, the sea wall, sand, and rocks flattened to a black band underneath. The twin-headed lamp gets to be the star of the show, Well, joint star, because there’s an actual one (or a planet, more likely) hanging up in the top-left, beating the streetlights to it.
| Aperture | ƒ/8 |
| Camera | ILCE-7RM5 |
| Focal length | 24mm |
| ISO | 100 |
| Shutter speed | 1/2.5s |
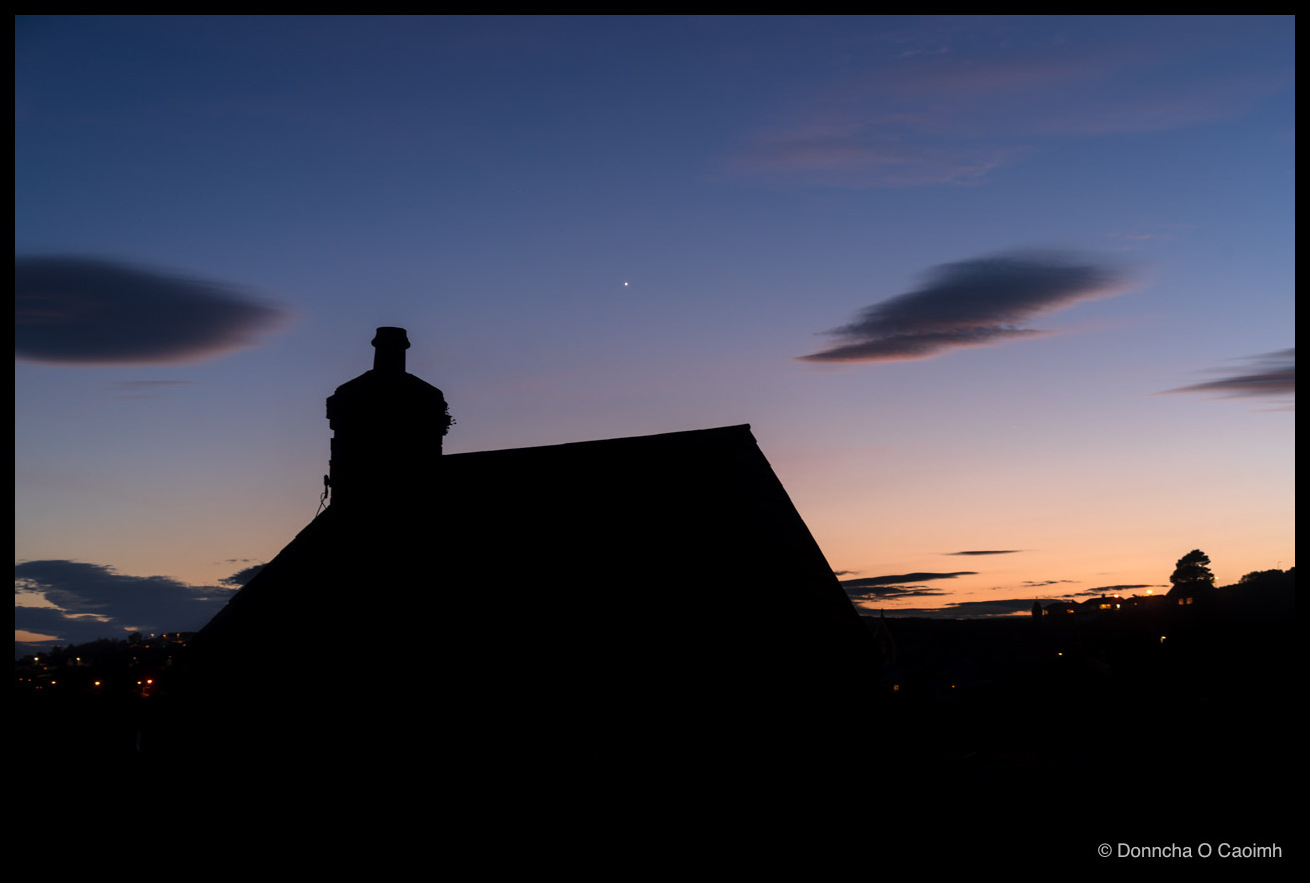
A chimney, a pitched roof, and a sky lit end to end. I caught this little hut alongside the old Youghal railway just as the light gave up for the evening, the blue overhead sliding down into a thin band of orange at the horizon. Two stretched-out lenticular clouds hung there like someone had smudged them with a thumb, and that single bright point above the roofline, a planet, almost certainly, given how steadily it sat was the first thing out before the proper stars arrived. The hut itself becomes pure shape at this hour, all detail swallowed, just the outline of the chimney pot to give it character. Down at the bottom you can pick out the scattered house lights of the town settling in for the night.
There are no fancy gear tricks here. Expose for the night sky and let everything else go dark.
| Aperture | ƒ/8 |
| Camera | ILCE-7RM5 |
| Focal length | 46mm |
| ISO | 100 |
| Shutter speed | 4s |
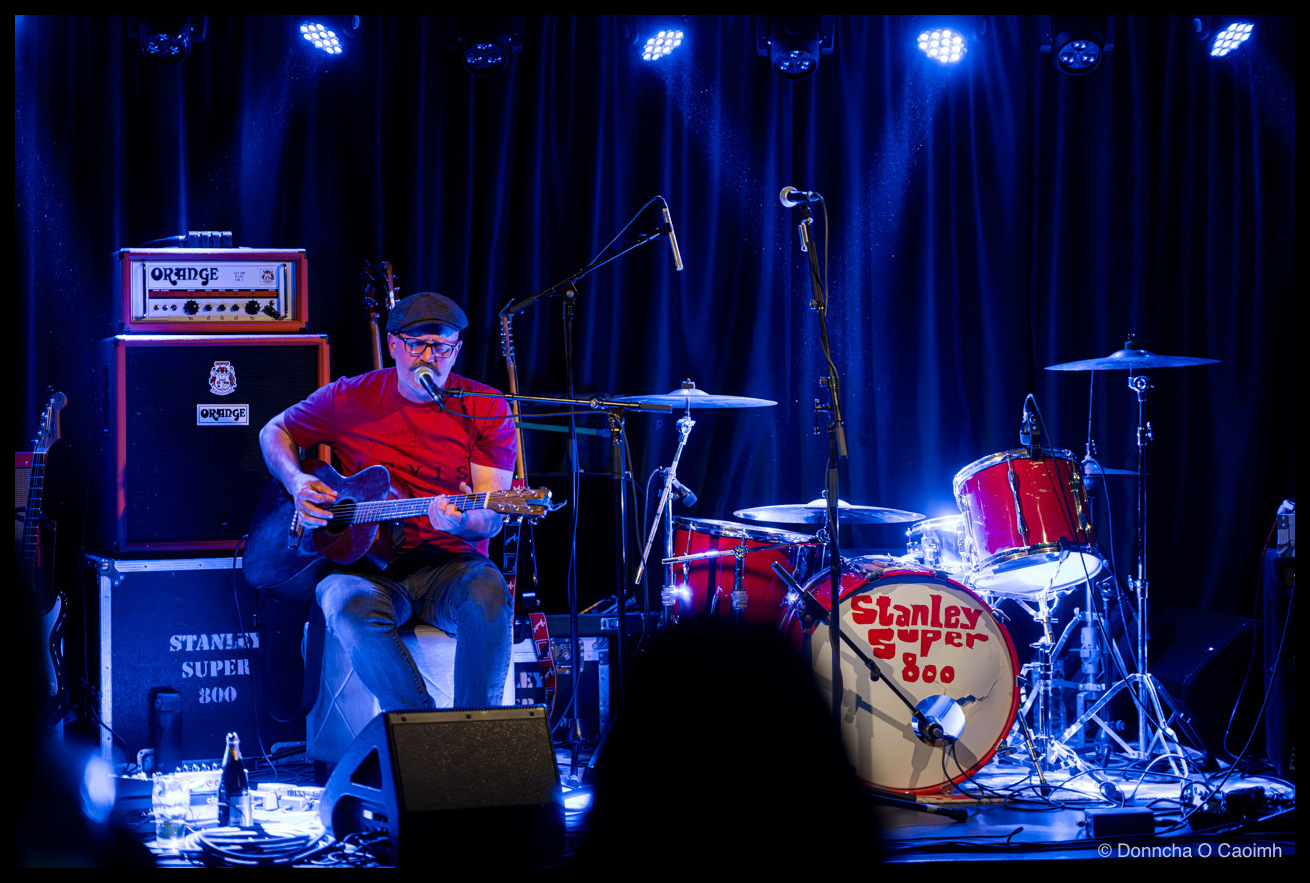
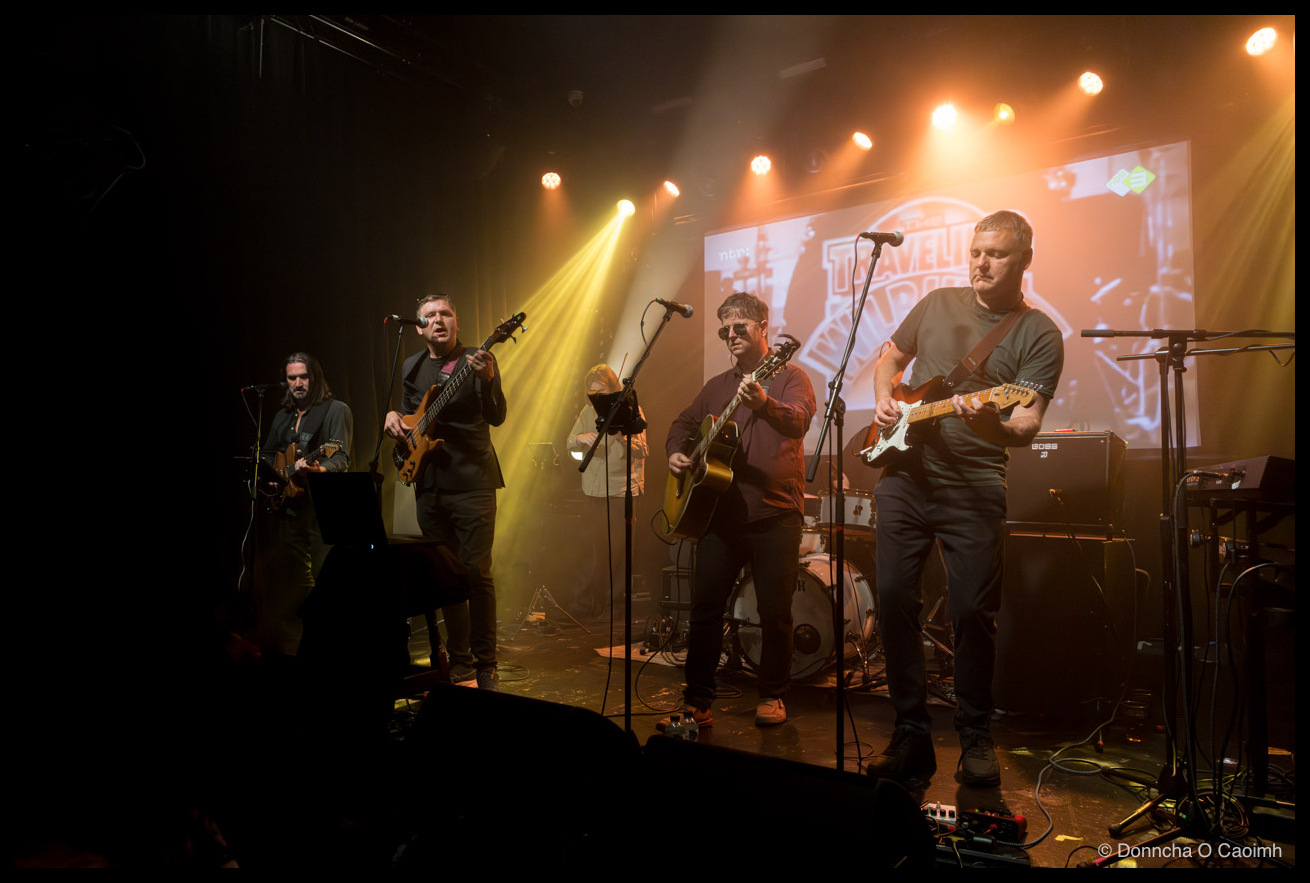
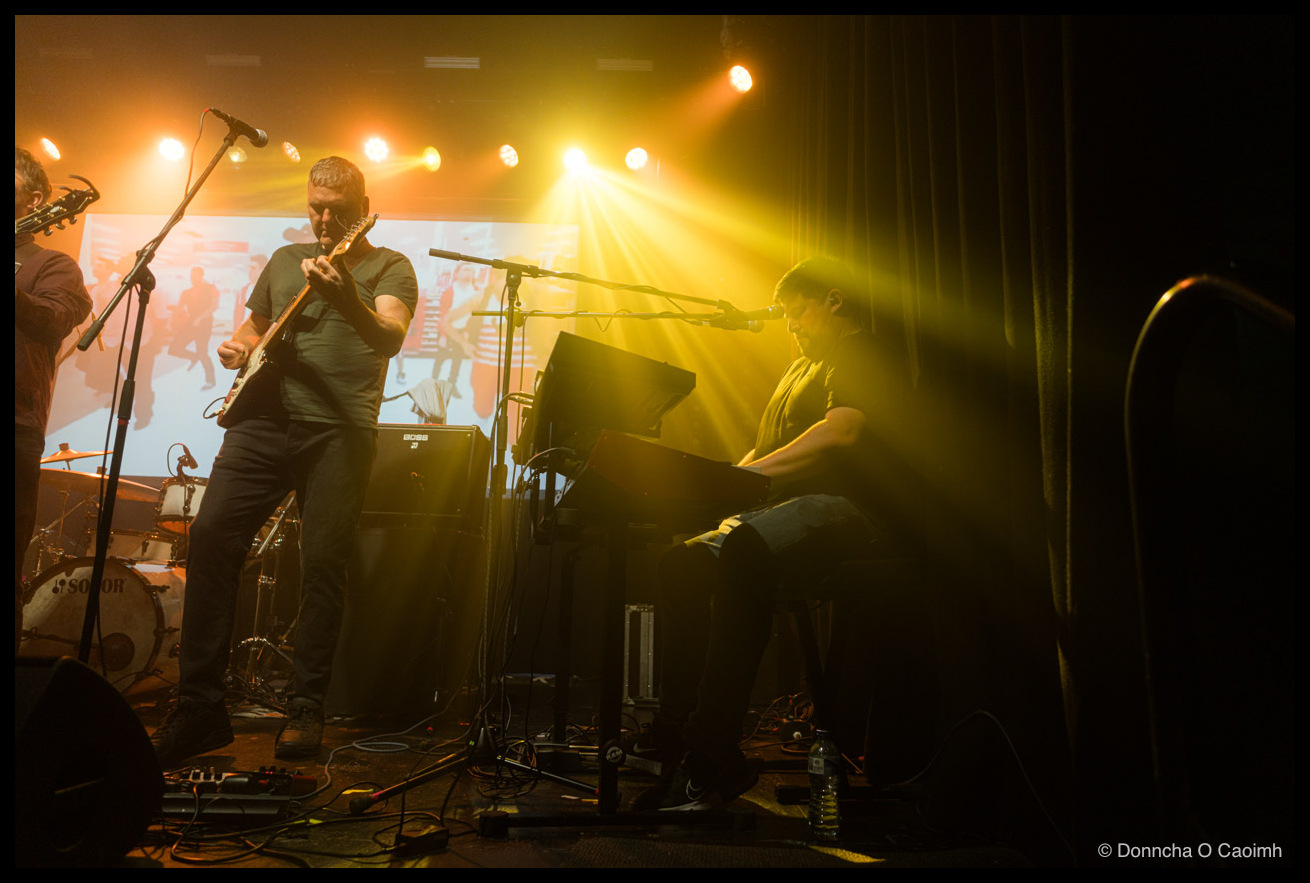
Friday night at the Savoy, and the place was buzzing. Joe of the band Fred opened things up solo. It was just him, an acoustic, a red tee and a flat cap, perched in front of a wall of Orange amps that looked far too big for one man and a guitar. Lovely, stripped-back stuff. He played some of the great Fred hits of so long ago and I loved it!
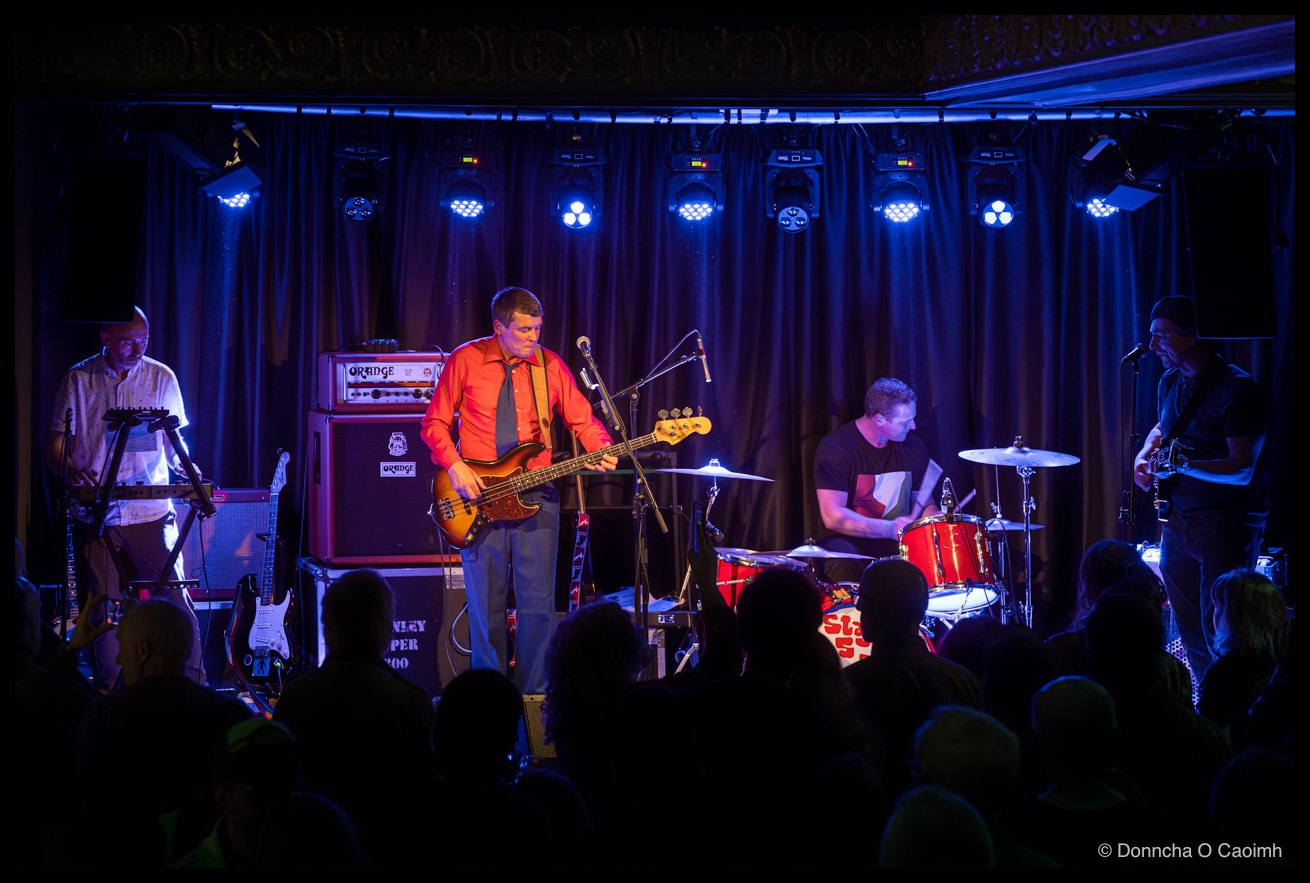
Then Stanley Super 800 took over and the room tilted: bassist front and centre in a tangerine shirt and tie (a brave wardrobe choice under those lights, and it paid off), keys to the left, the red kit thumping away behind, and a guitarist working the right flank. The blue wash and that battered red drum kit made for a proper feast of colour, and from where I was standing, somewhere in that thicket of
silhouetted heads, it was hard to know whether to shoot or just listen. I did a bit of both. Good to see them again after so many years!
| Aperture | ƒ/1.8 |
| Camera | ILCE-7RM5 |
| Focal length | 75mm |
| ISO | 3200 |
| Shutter speed | 1/160s |